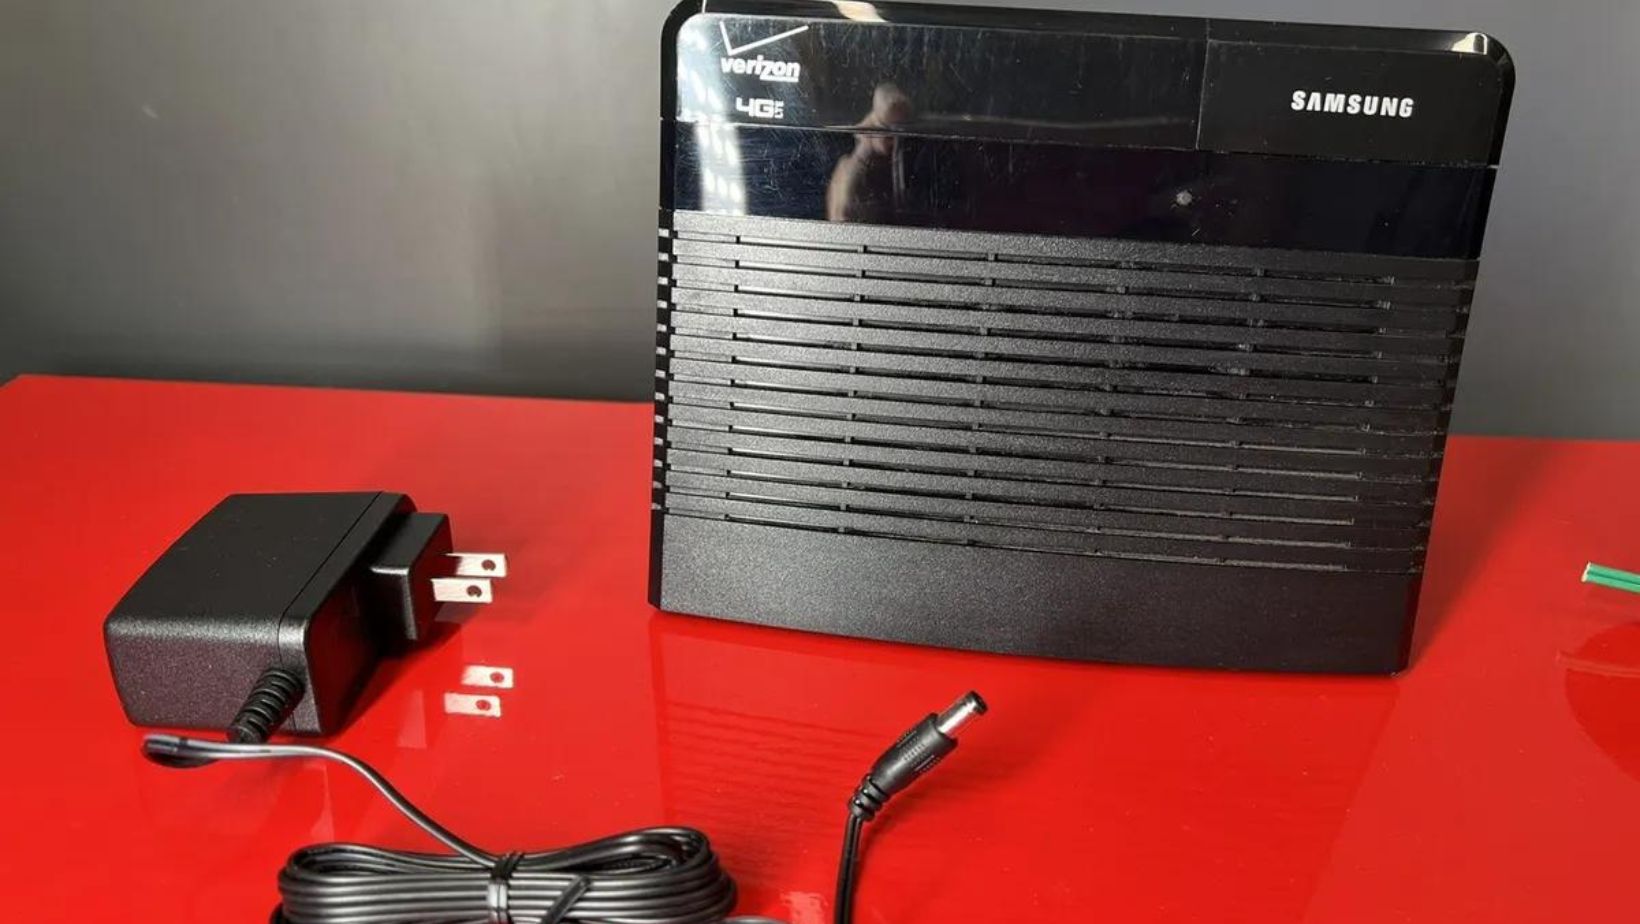
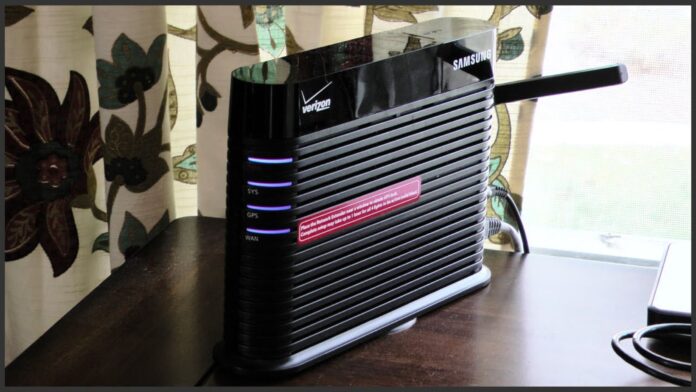
How to Reset Verizon Network Extender
Are you having trouble resetting your Verizon network extender? Well, look no further because I’m here to help! In this article, I’ll walk you through the step-by-step process of resetting your Verizon network extender so that you can get back to enjoying uninterrupted connectivity in no time.
Resetting your Verizon network extender is a simple procedure that can resolve many common issues. Whether you’re experiencing dropped calls, slow internet speeds, or other connectivity problems, a reset can often do the trick. So let’s get started!
To begin, locate the reset button on your Verizon network extender. It’s usually located on the back or side of the device and may be labeled “Reset” or simply have an icon indicating its function. Once you’ve found it, grab a small pin or paperclip and gently press and hold the reset button for about 10 seconds.
After releasing the reset button, give your Verizon network extender a few moments to reboot. During this time, it’s important not to unplug or disconnect any cables as it may interrupt the reset process. Once the device has finished restarting, it should be restored to its factory settings.
That’s it! You’ve successfully reset your Verizon network extender. Now you can reconnect all your devices and enjoy a strong and reliable connection once again. If you continue to experience issues after resetting, don’t hesitate to reach out to Verizon customer support for further assistance.
Remember, resetting your Verizon network extender is often an effective solution for various connectivity problems. By following these simple steps, you’ll be able to troubleshoot and resolve most issues on your own without needing professional help. So go ahead and give it a try!

Step-by-Step Guide to Resetting the Verizon Network Extender
In this section, I’ll walk you through the step-by-step process of resetting your Verizon Network Extender. Whether you’re experiencing connectivity issues or simply need to start fresh, resetting the network extender can often resolve common problems. Follow these instructions carefully:
- Locate the reset button: Look for a small hole or button labeled “Reset” on your Verizon Network Extender device.
- Prepare a paperclip or pin: Find a small, pointed object like a paperclip or pin that will fit into the reset button.
- Power off the network extender: Ensure that your network extender is powered off before proceeding with the reset process. This can usually be done by unplugging it from the power source.
- Press and hold the reset button: Insert the paperclip or pin into the reset button and press down gently but firmly. Hold it in place for about 10 seconds.
- Release the reset button: After holding down the reset button for approximately 10 seconds, release it and wait for your network extender to restart.
- Confirm successful reset: Once your network extender has finished restarting, check if all lights on the device are displaying as normal. This indicates that the reset was successful.
- Reconfigure your network settings (if necessary): In some cases, after resetting your Verizon Network Extender, you may need to reconfigure certain settings such as Wi-Fi credentials or connection preferences on connected devices.
Remember, performing a factory reset will erase any customizations made to your network extender’s settings and revert them back to their default state. Make sure to have any necessary information handy before proceeding with this process.
By following these steps, you should now have successfully completed a hard reset of your Verizon Network Extender and resolved any connectivity issues you were experiencing. If problems persist, it may be helpful to reach out to Verizon customer support for further assistance.


