

YouTube is one of the most popular social media platforms for sharing videos publicly. Do you wonder who commented on your video? Did you know it’s also a great place to store videos privately? Or such questions are always a mystery for YouTube users.
The default setting when someone creates a YouTube account is public. Meaning that anybody can see your videos.
However, If you don’t want anyone to see your videos on YouTube, you can make them private. People only can view the videos until you share a link with them. Also, your videos won’t be seen on YouTube’s search results or video recommendations.
Here’s a step-by-step guide on how to make your YouTube channel private.
What is a Private YouTube Channel?
A private YouTube channel is a channel where your videos and playlists of you are hidden from YouTube users. Only you and those with access to the channel can view the content. Your private videos won’t show up on the Videos tab on your channel’s homepage.
Having a private YouTube channel means you have full control over it, and only a select group of people can see your videos.
What is a Public YouTube Channel?
On the other hand, a public channel is accessible to all users on YouTube. Public YouTube channels are intended to be viewed by all viewers on the platform.
A public channel allows you to expand your reach within your chosen niche. You can invite all users who seek content similar to yours. Most public channels display informational, educational, and entertainment content accessible to all YouTube users. The subscriptions of a public channel are also public, meaning that all subscribers can view the channels to which they subscribe.
How to Make YouTube Channel Private:
Making your YouTube channel private is not rocket science. You should simply follow the steps below:
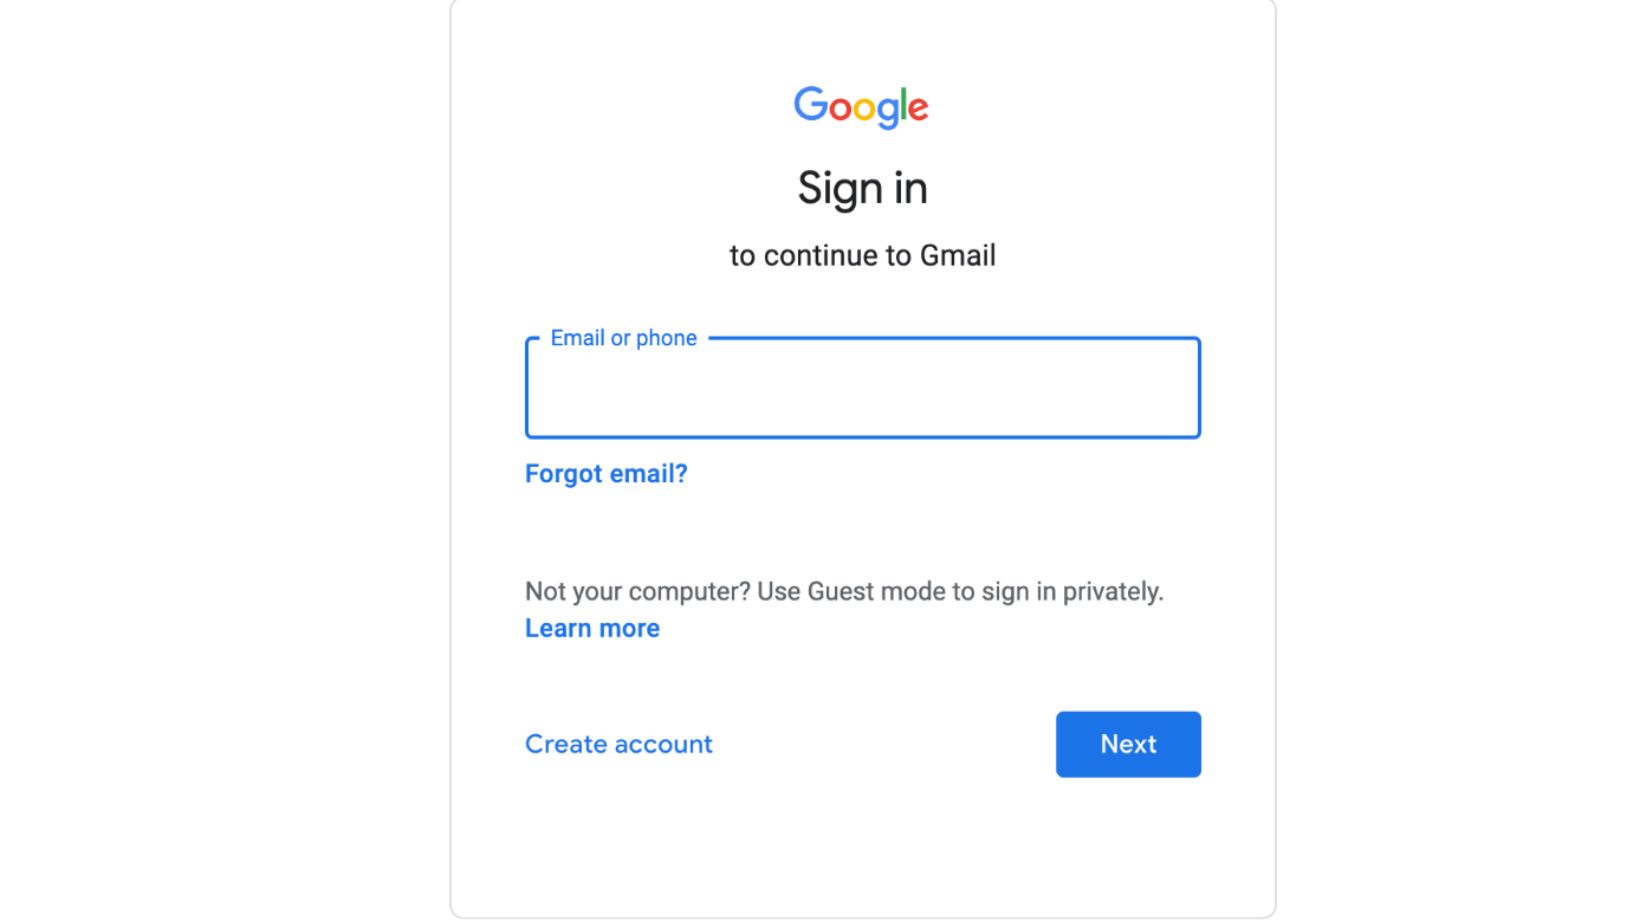
Step 1
Log into your YouTube account.
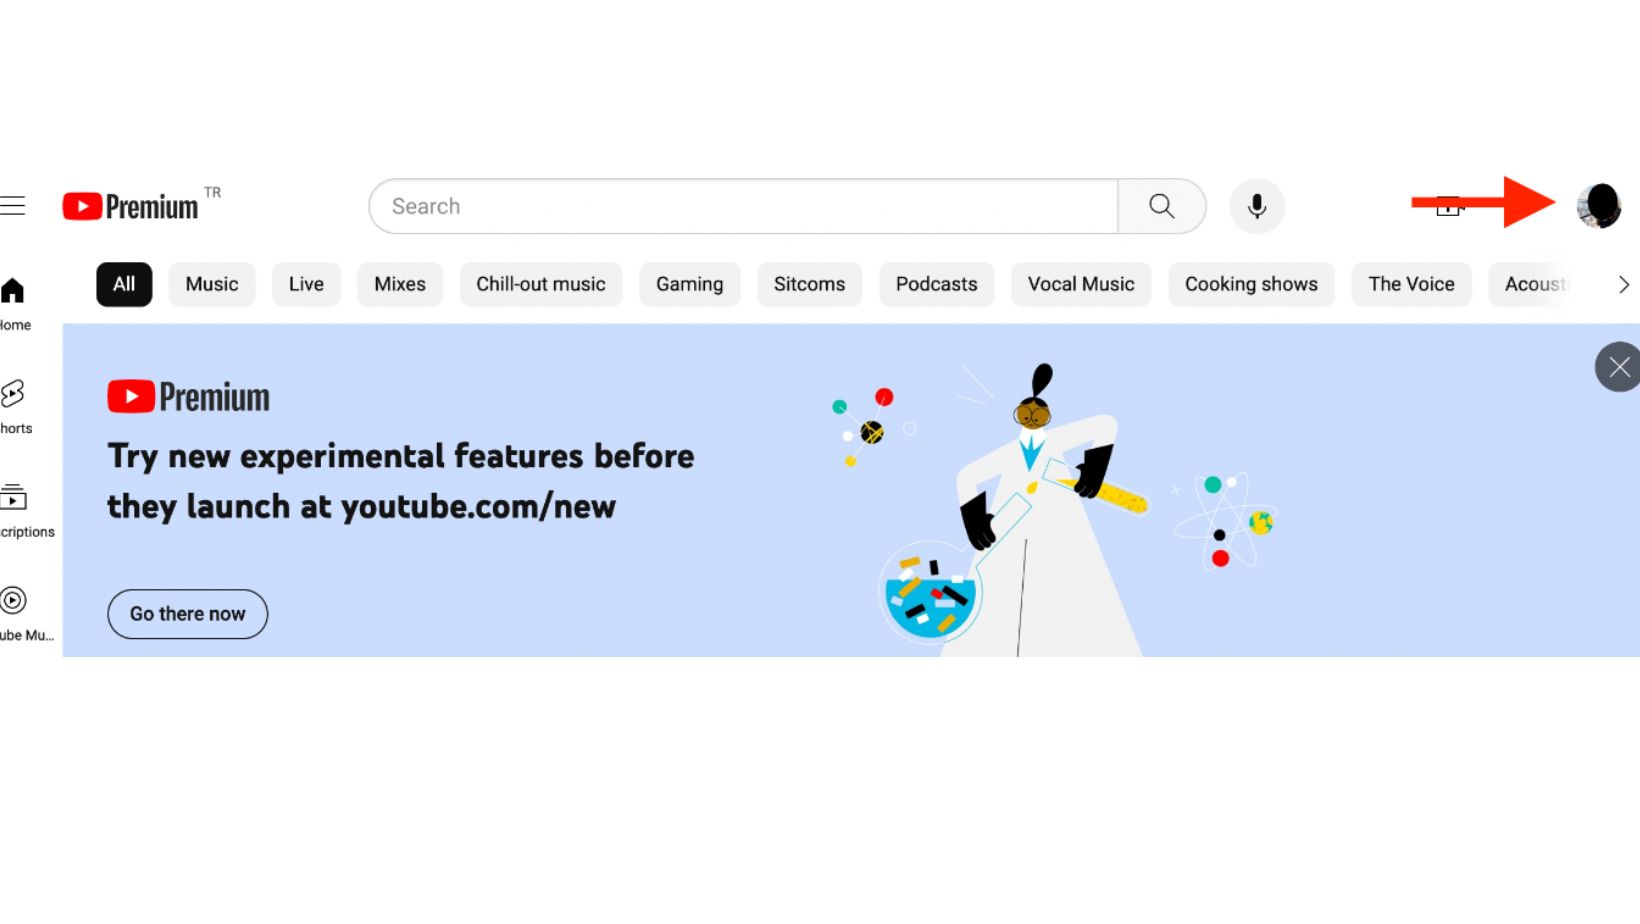
Step 2
Tap on the ‘Profile Icon’ located in the upper right corner.
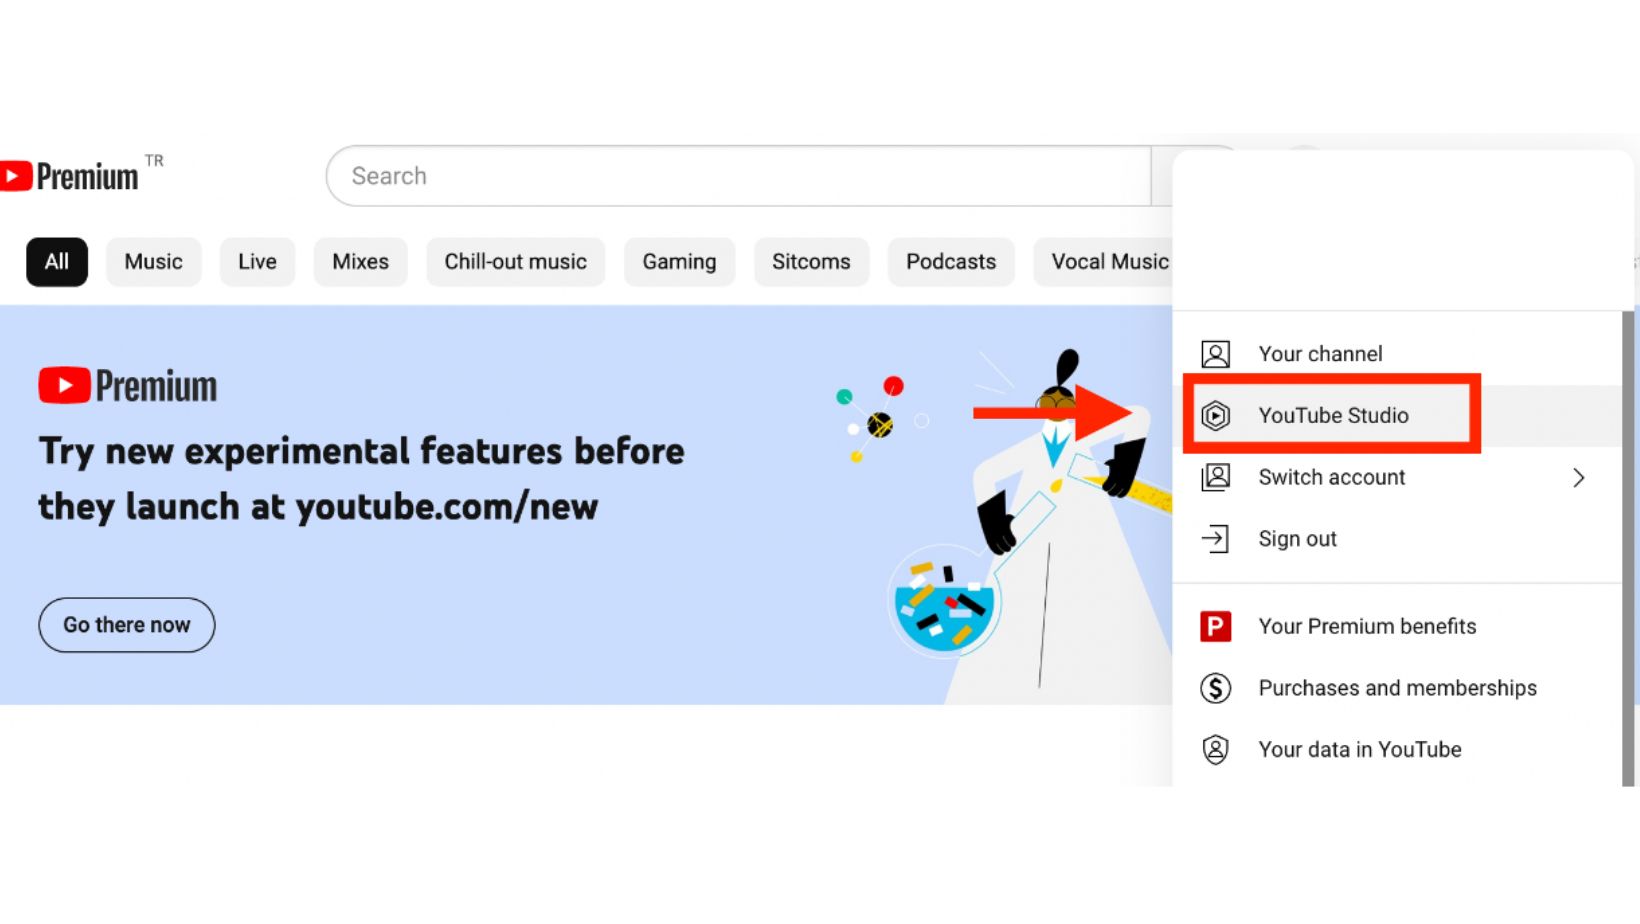
Step 3
Click on the ‘YouTube Studio’ from the drop-down menu. You’ll be directed to the channel homepage.
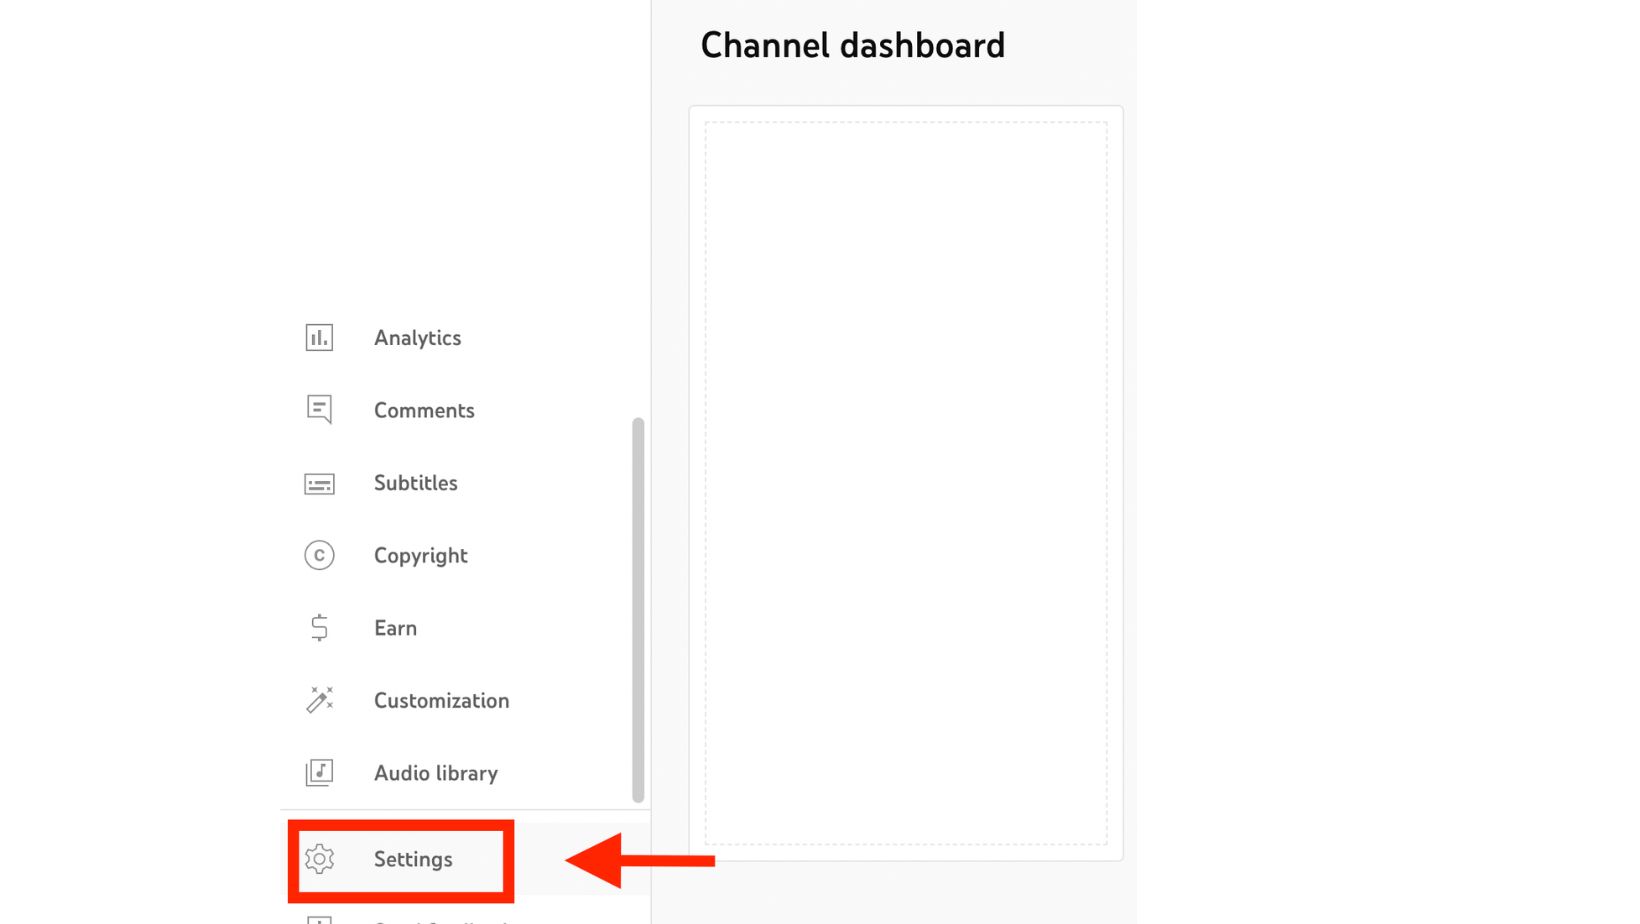
Step 4
On the main page of the YouTube Studio, click on the ‘Settings’ option’.
Step 5
Under Settings, click ‘Channel’, which will open a new window on your screen.
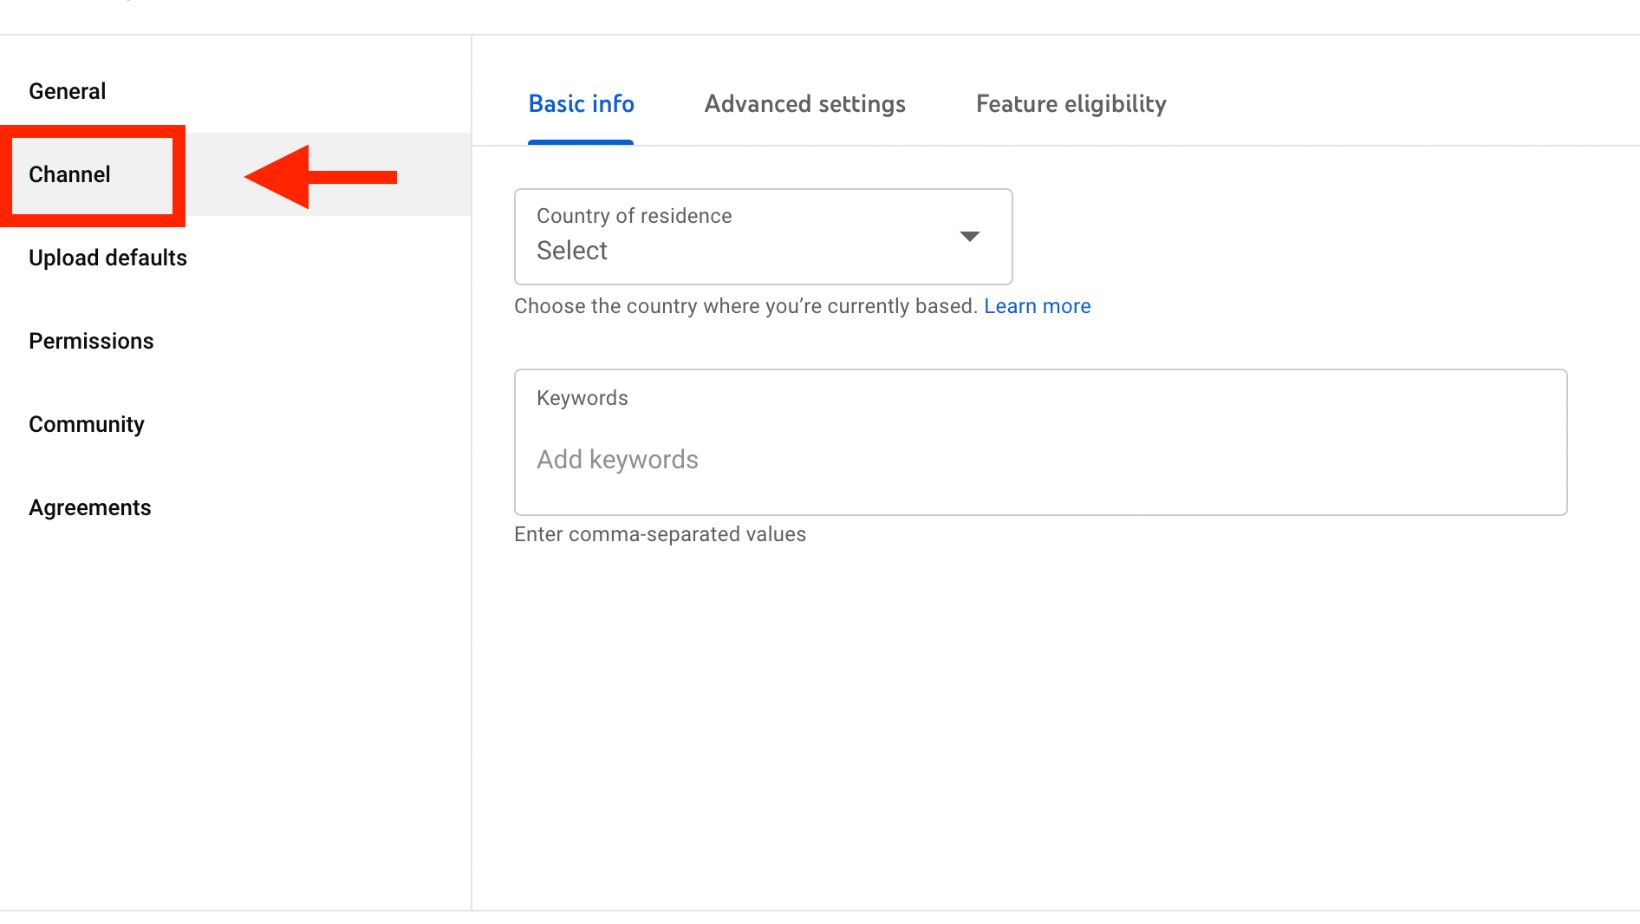
Step 6
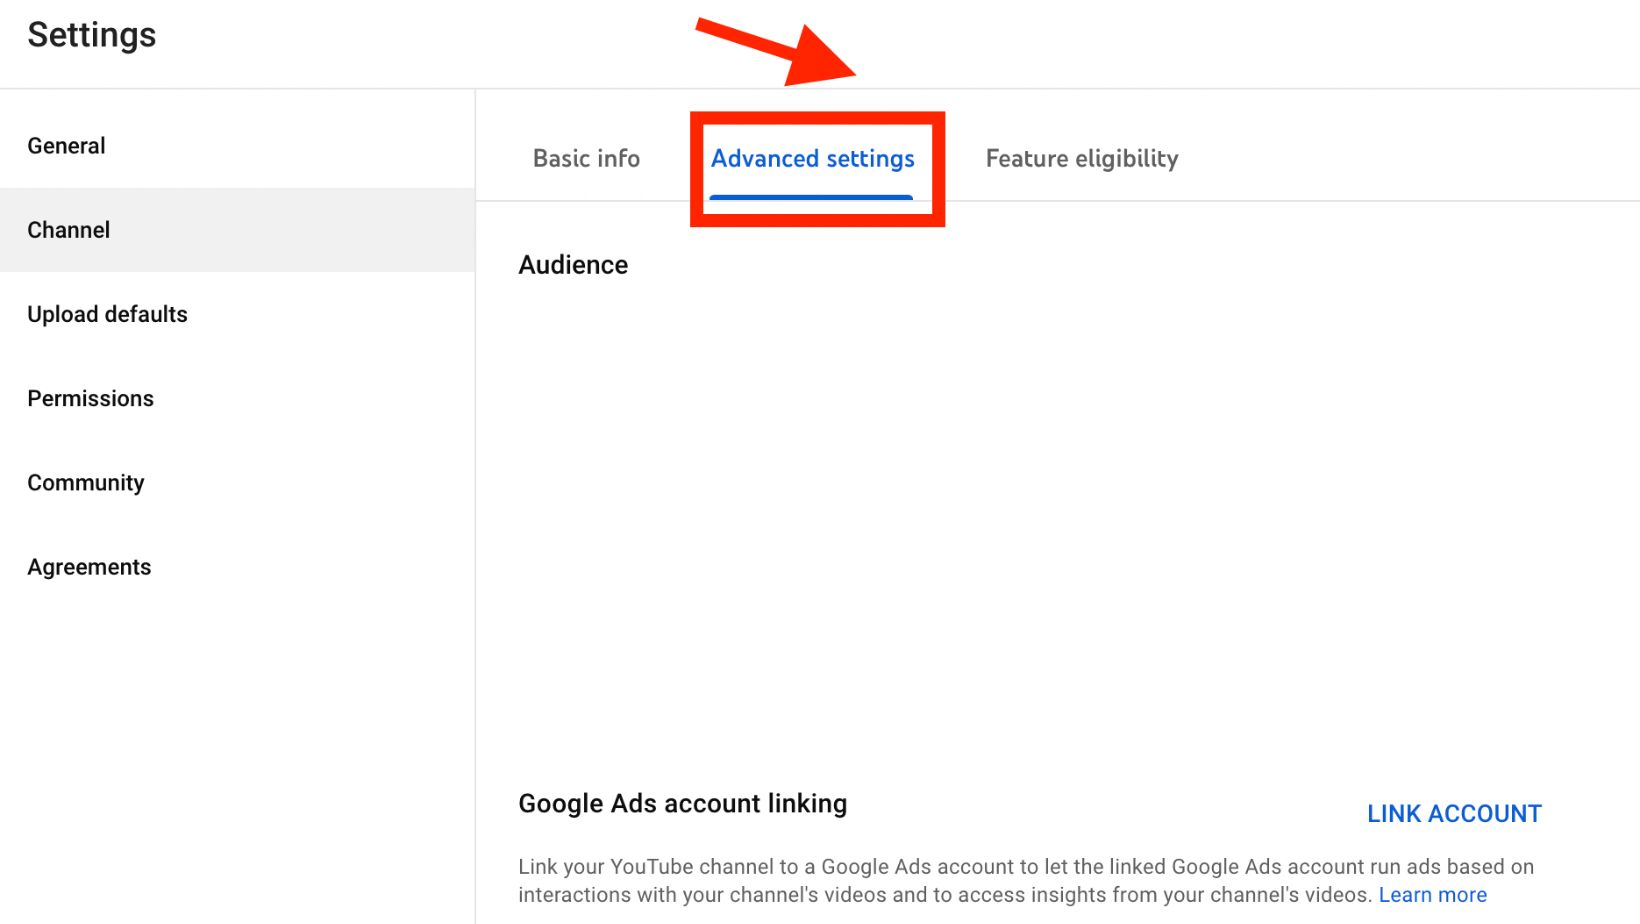
Select ‘Advanced Settings.’
Step 7
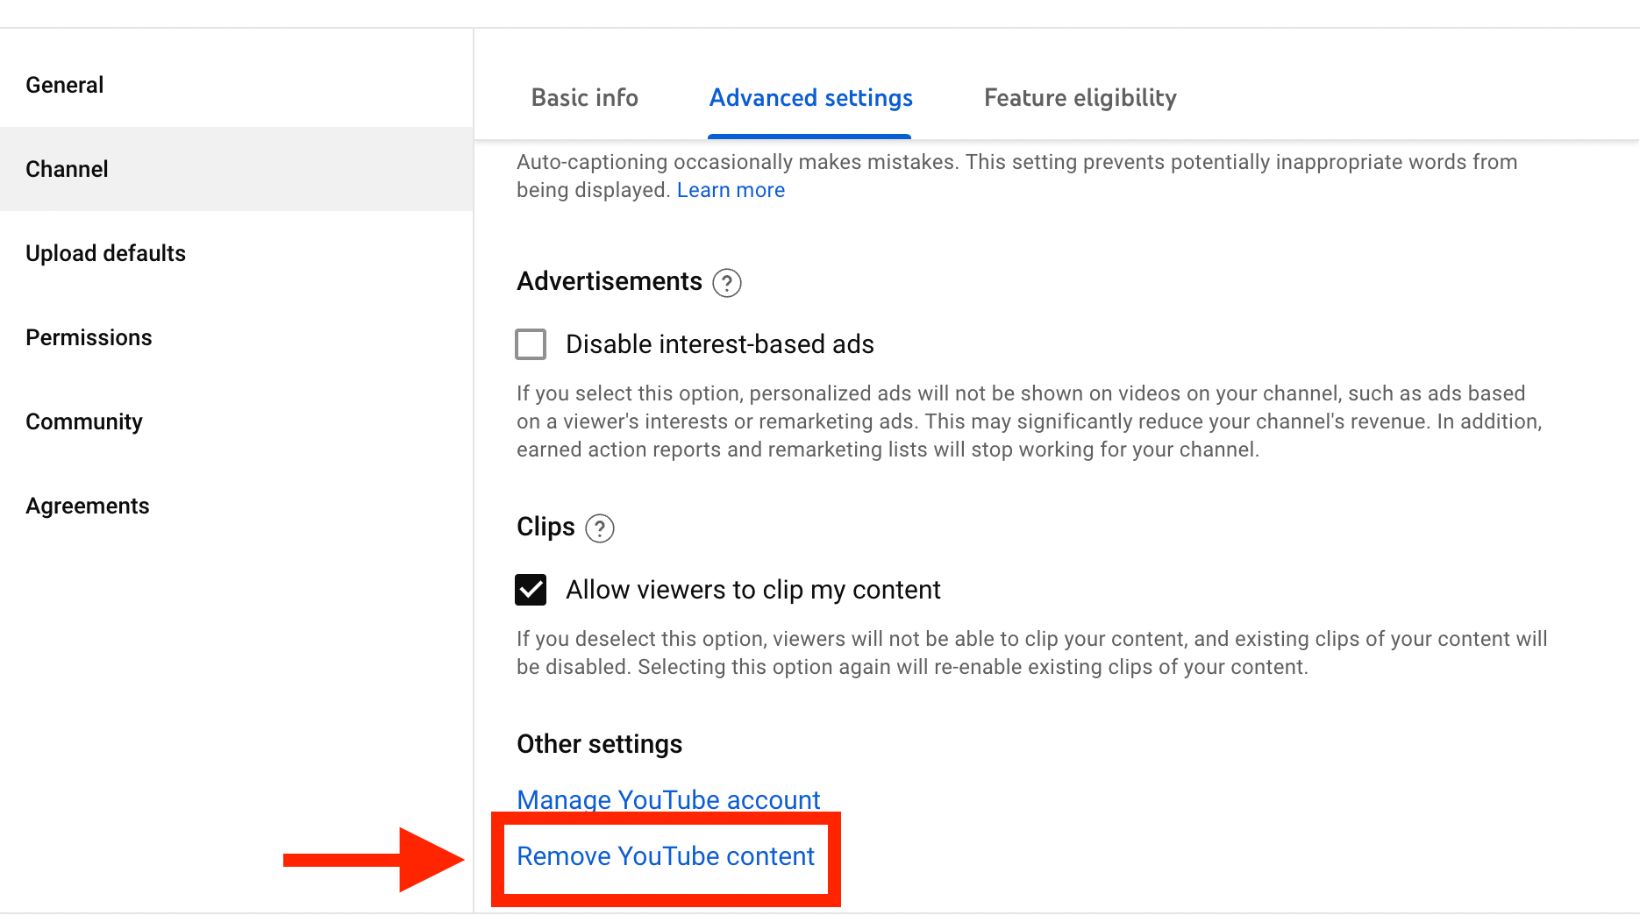
Under ‘Advanced Settings,’ scroll down and click on ‘Remove YouTube Content.’
Keynote: Your content will not be removed when you click on it. This will only make your YouTube channel private.
Step 8
Once you’ve decided to click on ‘Remove YouTube content’, you’ll be asked to enter your YouTube password.

Step 9
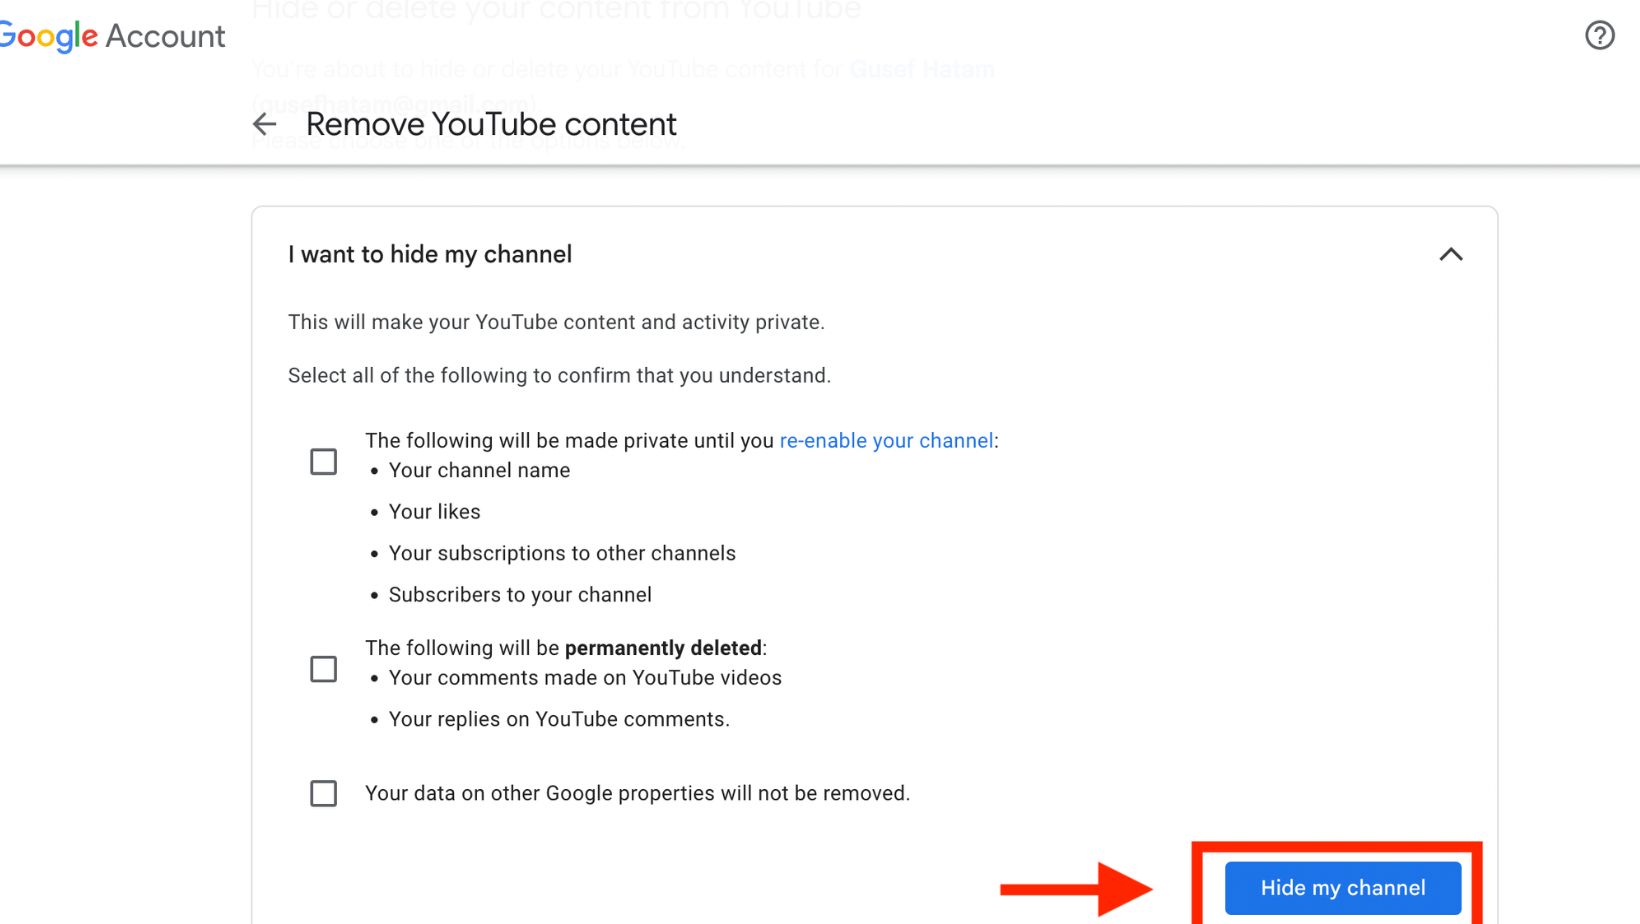
After confirmation, you’ll have two options. Here you should select ‘I want to hide my channel’.

Step 10
YouTube will ask you to choose what you would like to hide. For instance, your channel name, YouTube comments, videos, likes, subscribers, and subscriptions.
You can select the option you want to hide and click ‘Hide my channel’.
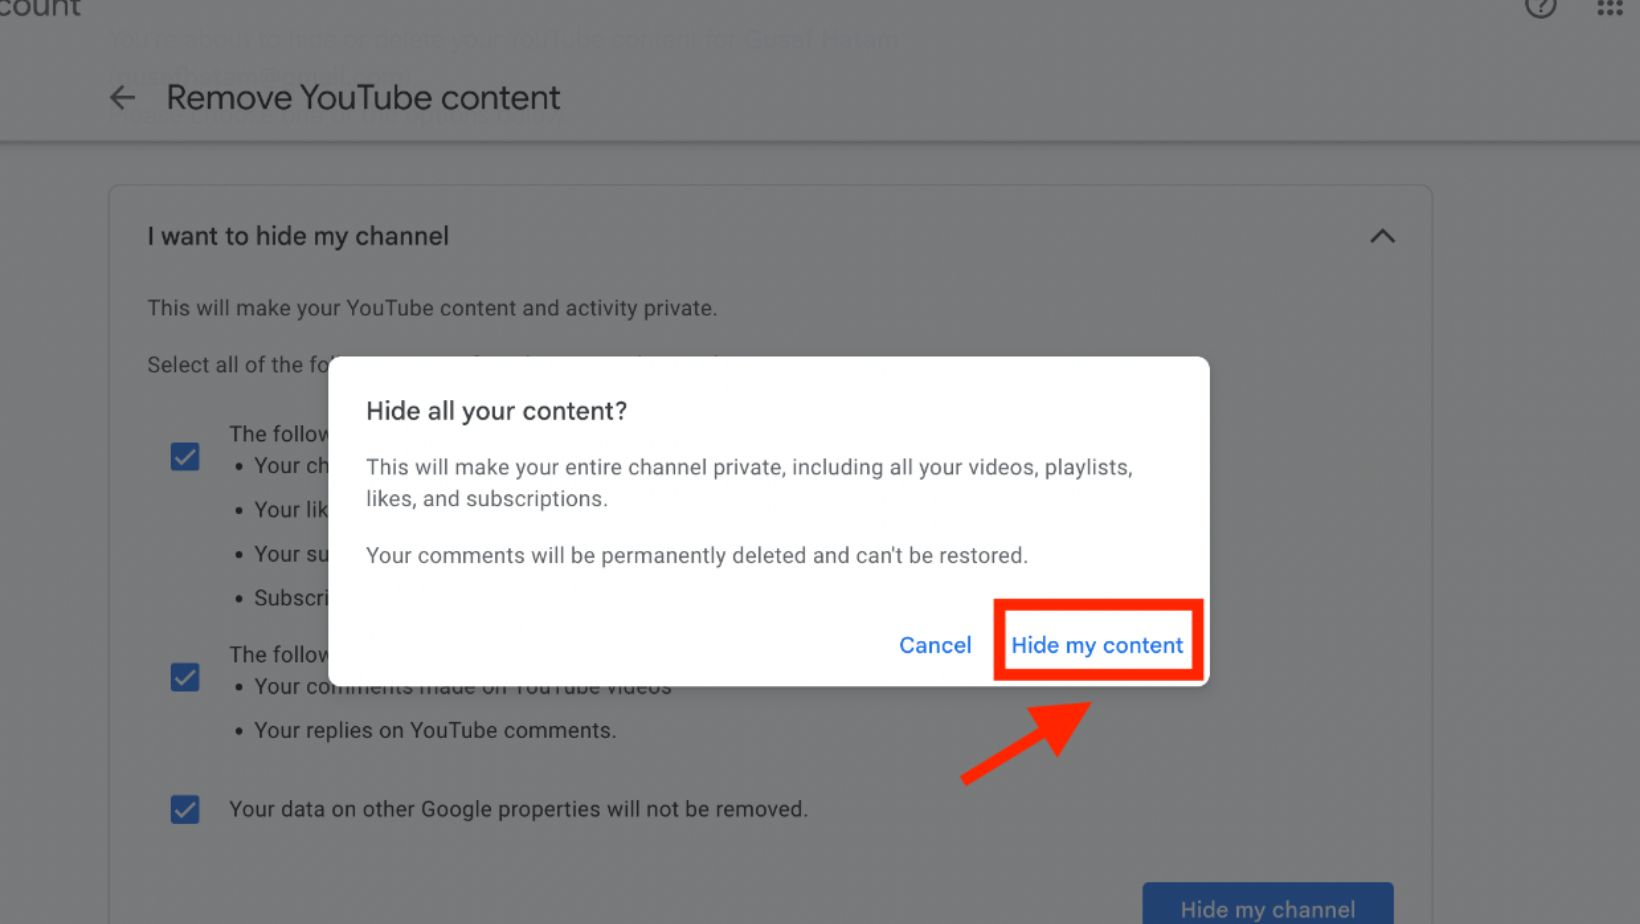
Step 11
A pop-up screen will appear, and you will be asked to confirm your choice. Click ‘Hide my
Content’.
Step 12
Congratulations! You’ve successfully hidden your YouTube channel. Now you have a completely private YouTube channel.
Please remember that this won’t permanently delete your YouTube channel or data from other Google properties; it will only make your YouTube channel private.
How to Just Make Videos Private
You can privatize the entire YouTube channel and select YouTube videos. It is possible to hide a video on your channel if you do not want it to be visible to the public or if you wish to keep it hidden for a period of time.
This can be good if you think your videos aren’t getting your desired attention. If you want to create a new channel that attracts people, you could always make your old one private but active.
How To Share Privately
If you’ve figured out how to make a YouTube channel private, let’s consider sharing a private video. By sharing private videos, you can ensure your video is safe to share with your friends and people you trust. Here’s how to do it:
- Click ‘Profile Icon’ and then ‘YouTube Studio’.
- This will take you to the channel dashboard. Click ‘Content’.
- Select the one 4you wish to share privately. Next to it, there are visibility options which are private, unlisted, and public.
- Click ‘Share privately’.
- YouTube will ask you the enter the e-mail addresses you wish to share your private videos. You can send up to 50 e-mails.
- After you’ve added them, click ‘Notify via e-mail’.
- Tap ‘Done’ and then ‘Save’ to your choices.
It is good to know that privatizing your channel is a reversible action. This only depends on you. Anytime you want, you can turn your private YouTube channel into a public channel and your public channel into a private channel.
If you don’t remember how to make your YouTube channel private, just take a glance at this blog, and you are all set!