
Whether you’re summarizing a detailed report, presenting your thesis, or transforming a dense marketing write-up into a winning pitch, shifting from a text-heavy Word document to a visually striking presentation is where productivity meets creativity. But here’s the good news: you don’t have to be a designer — or start from scratch — to make that transition smooth and effective.
With WPS Office, converting a polished Word document into a clean, professional slide deck is not only possible, it’s refreshingly simple. In this practical guide, we’ll show you exactly how to turn essays, reports, or proposals into clear, communicative slides — ideal for students, freelancers, and small business owners alike.
By the end, you’ll know how to speed up this process on Windows without shelling out expensive subscriptions or clunky software. If you want to download a PowerPoint alternative that keeps your formatting crisp and your workflow smooth, you’re in the right place.
When your text deserves a stage: why convert to slides?
Occasionally, a piece of paper just isn’t the most effective way to communicate. Consider stakeholder meetings, scholarly overviews, or pitch meetings. Slides segment content into bite-sized images, manage tempo, and keep your audience awake. But copying and pasting every section by hand from Word into a presentation is a recipe for lost time.
The actual solution? Create a visual outline that preserves the organization of your document—without clobbering your slides. That’s where WPS Office shines.
Converting paragraphs to slides like a pro
The secret to turning a Word document into an awesome presentation is to see the natural outline of your text. Here’s a fast mental model:
- Main headings (H1, bolded sections) → Become slide titles
- Subheadings or topic sentences → Become bullet points
- Supporting facts or illustrations → Get summarized or converted to graphics
Apply this template before you even launch WPS Presentation. Go through your Word document, underline section titles, and stamp those points that warrant visuals—such as sets of data, quotations, or flows. For added efficiency, you can even use the paraphrasing tool in WPS Writer to simplify dense paragraphs before converting them into slides. This rapid “pre-slide” outline will pay dividends later.
Step-by-step: Word-to-slides using WPS Presentation (Windows)
Here’s how to turn your Word document into life with WPS Presentation on a Windows PC:
Step 1: Open WPS Writer and organize your document
Make sure your Word file is well-organized before importing anything. Use headings for headings, and bullet points for lists. Divide long paragraphs into 2–3 sentence bits so they’re easy to fit into slides.
Step 2: Launch a fresh blank deck in WPS Presentation
From the welcome screen, choose Presentation after starting WPS Office. Select “Blank Presentation” to begin anew. Using the content from your Word document, you will create your slides by hand.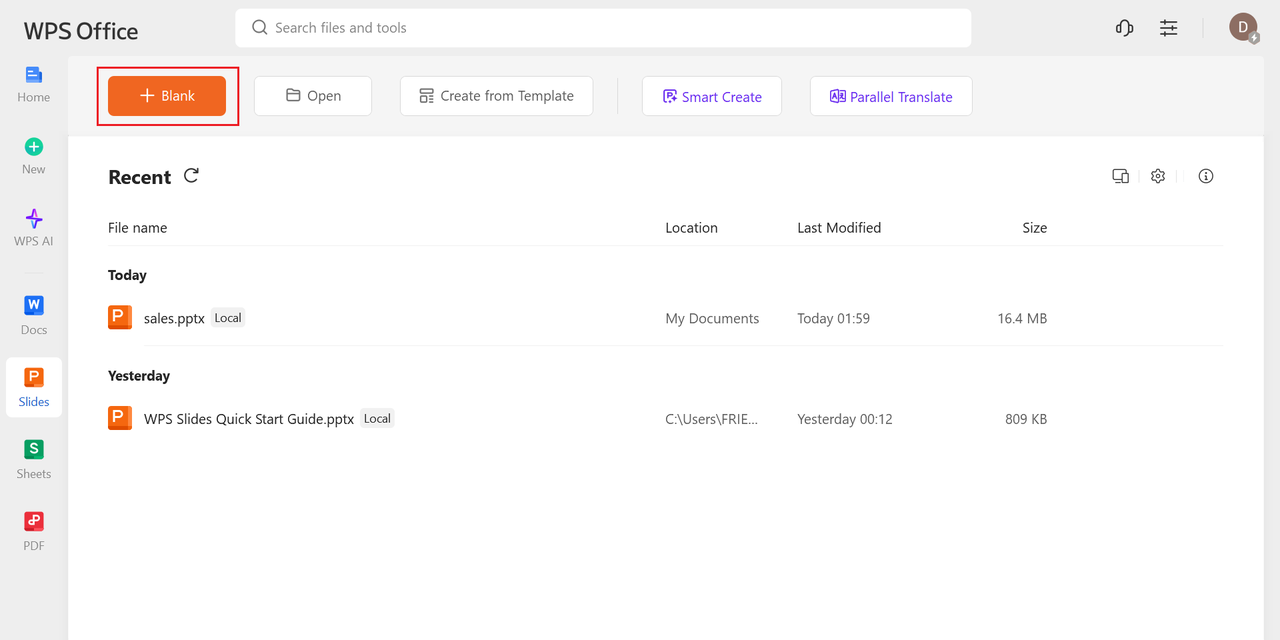
Step 3: Copy slide-worthy sections into individual slides
Begin with your document’s main topics. Replicate the heading and put it in the Title box on your slide. Next, replicate a couple of main bullet points or summary lines in the Content box. Keep it concise—do 3–5 bullet points per page.
Step 4: Utilize SmartArt or tables for detailed lists
If your Word document contains a comparison, process steps, or definitions, go to Insert > SmartArt and select a visual layout that will be appropriate for your content. It’s quicker than drawing boxes yourself and looks professional.
Step 5: Insert visuals and resize fonts
Use Insert > Picture to insert charts, screenshots, or icons from your project directory. Then, use Design > Theme to choose a slide theme that suits your tone—academic, business, or artistic.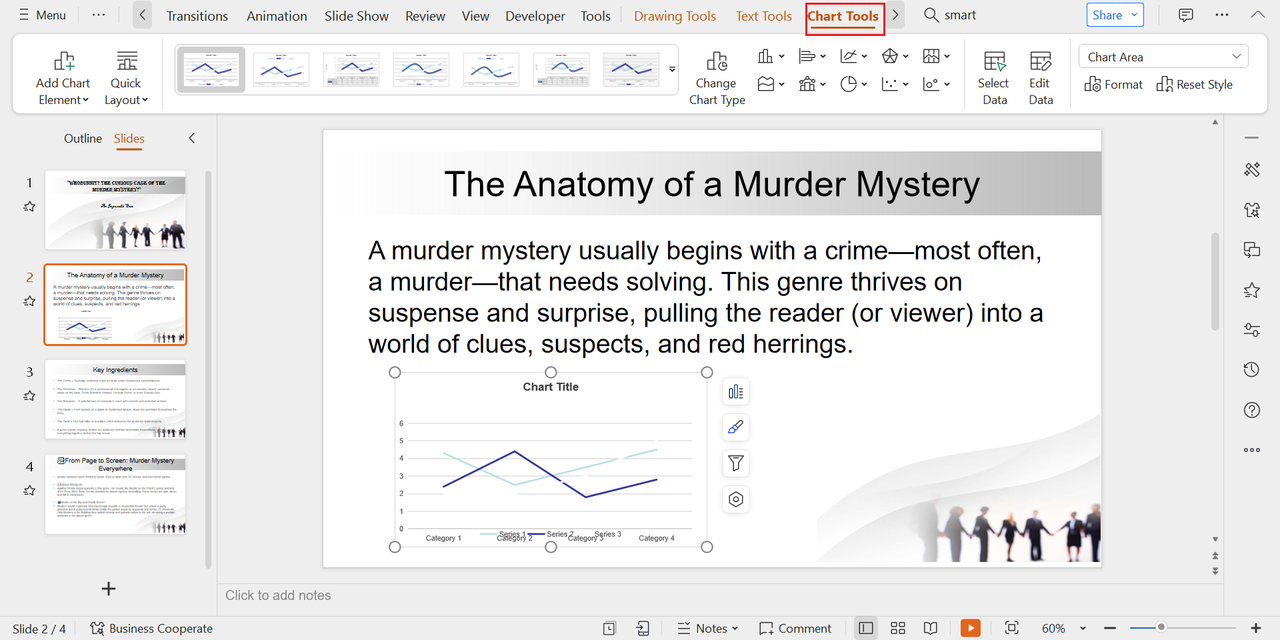
Step 6: Rehearse, revise, and export
Use Slide Show > Rehearse Timings to practice presenting. Once done, export your slides through Menu > Export to PDF or save as .pptx file for convenient sharing.
Great practices for converting slides
With the steps in hand, let’s discuss how to keep your presentation readable, believable, and tidy.
- Don’t overpopulate your slides: Ponder your slides as visual reminders, not text to read. Prioritize clarity over words.
- Employ consistent font and color: WPS Presentation themes assist with that—but double-check your final copy.
- Convert charts to images when necessary: To prevent formatting problems, save embedded charts in Word as PNGs and then re-insert them into slides.
The conversion process involves more than simply aesthetics; it involves rephrasing your concepts so that your audience can quickly understand your point.
Use cases: who benefits from this method?
Classrooms are not the only setting for this procedure. This is where the Word-to-Slide technique excels:
- Students: For group projects or thesis proposals, turn texts into graphic presentations.
- Freelancers: Create meeting summaries from client reports that are ready for presentations.
- Small business owners: Create pitch decks from written ideas for partners or investors.
- Researchers: Condense lengthy papers into conference-session graphic briefings.
WPS Presentation is flexible, and since it works well with WPS Writer, there is no friction when switching from document to deck.
Converting text to visuals: what works best on slides
One of the most daunting tasks of converting a Word document into a slide deck is determining what needs to remain as text and what needs to be represented graphically. Not every sentence needs to be a bullet point. Some concepts are better expressed as graphics, diagrams, or even basic icons. That’s where WPS Presentation provides you with a creative advantage.
Suppose your Word document contains a multi-step process. Rather than breaking it out slide by slide, make it a flowchart through Insert > SmartArt or Insert > Shapes. If your doc has survey data or comparisons, don’t list the numbers—display them through Insert > Chart or copy over prepared graphs from Excel or PNGs exported from your Word charts.
And don’t miss quotes. Mark off a colorful phrase or guru quote in a big font, put it in the center, and use it as a solo slide. These little breaks between thick slides provide pacing and emotional emphasis, making your presentation more human and memorable.
Structuring a multi-section document into a slick deck
If you’re dealing with a longer Word document—such as a whitepaper, research proposal, or product guide—you’ll have to think in sections rather than merely slides. WPS Presentation lets you organize slides into sections with Insert > Section Breaks so that you can replicate your document’s structure.
Here’s how to split it up effectively:
- Introduction section: One slide for the title slide, one for your overall objective or hypothesis.
- Body sections: Every heading in your Word document becomes a section, 2–3 supporting slides below.
- Conclusion section: One final slide to wrap up and one for next steps/CALL TO ACTION.
You can also utilize section headings in WPS Presentation to quickly jump or reorder your content if the flow isn’t quite there. For example, if your methodology needs to precede your data analysis, you can reorder sections by dragging and dropping rather than having to rebuild the deck. Converting long documents becomes seamless, agile, and completely at your discretion.
Last takeaway: from static to story
In this age of instant, presentation-driven everything, words alone just don’t cut it. Turning your Word document into a slide deck allows you to dictate how your thoughts are viewed, heard, and remembered.
And with WPS Office, you’re not just saving time—you’re creating something more compelling, more dynamic, and more professional. No costly software. No daunting learning curve. Just your content, reimagined to speak with force.
Download WPS Office now and bring any written concept to a story you can present.
Frequently asked questions (FAQs)
Q1: Is it possible to directly import my Word document into WPS Presentation?
Not exactly—but it’s by design. WPS Office promotes deliberate slide construction. Rather than cluttered automatic imports, this method allows you to construct slides with intention and precision. Simply cut and paste critical segments and manually construct slides for the best layout outcomes.
For visual formatting advice and structure shortcuts, watch tutorials on WPS Office!
Q2: What if my Word document contains tables or charts?
Re-create tables by Insert > Table in WPS Presentation, or reformat them as image in WPS Writer. This maintains your structure across platforms. As for charts, exporting as images provides more control on positioning and size in slides.
Master how to visualize Word data in slides with WPS Office tutorials!
Q3: How can I ensure my presentation appears professional?
Use one theme, and readable fonts (e.g., Arial or Calibri), and keep it brief. Use not more than 5 bullet points on a slide. WPS Presentation has inherent themes for academic and business presentations, so choose one and stick to it.
Explore slide polish tutorials and visual design tips at WPS Office!