

How To Set Up Verizon Router
Setting up a Verizon router may seem like a daunting task, but with the right guidance, it can be a straightforward process. In this article, I’ll walk you through the steps of how to set up your Verizon router quickly and easily. Firstly, make sure you have all the necessary equipment before starting the setup process. You’ll need your Verizon router, an Ethernet cable, and a computer or mobile device with internet connectivity.
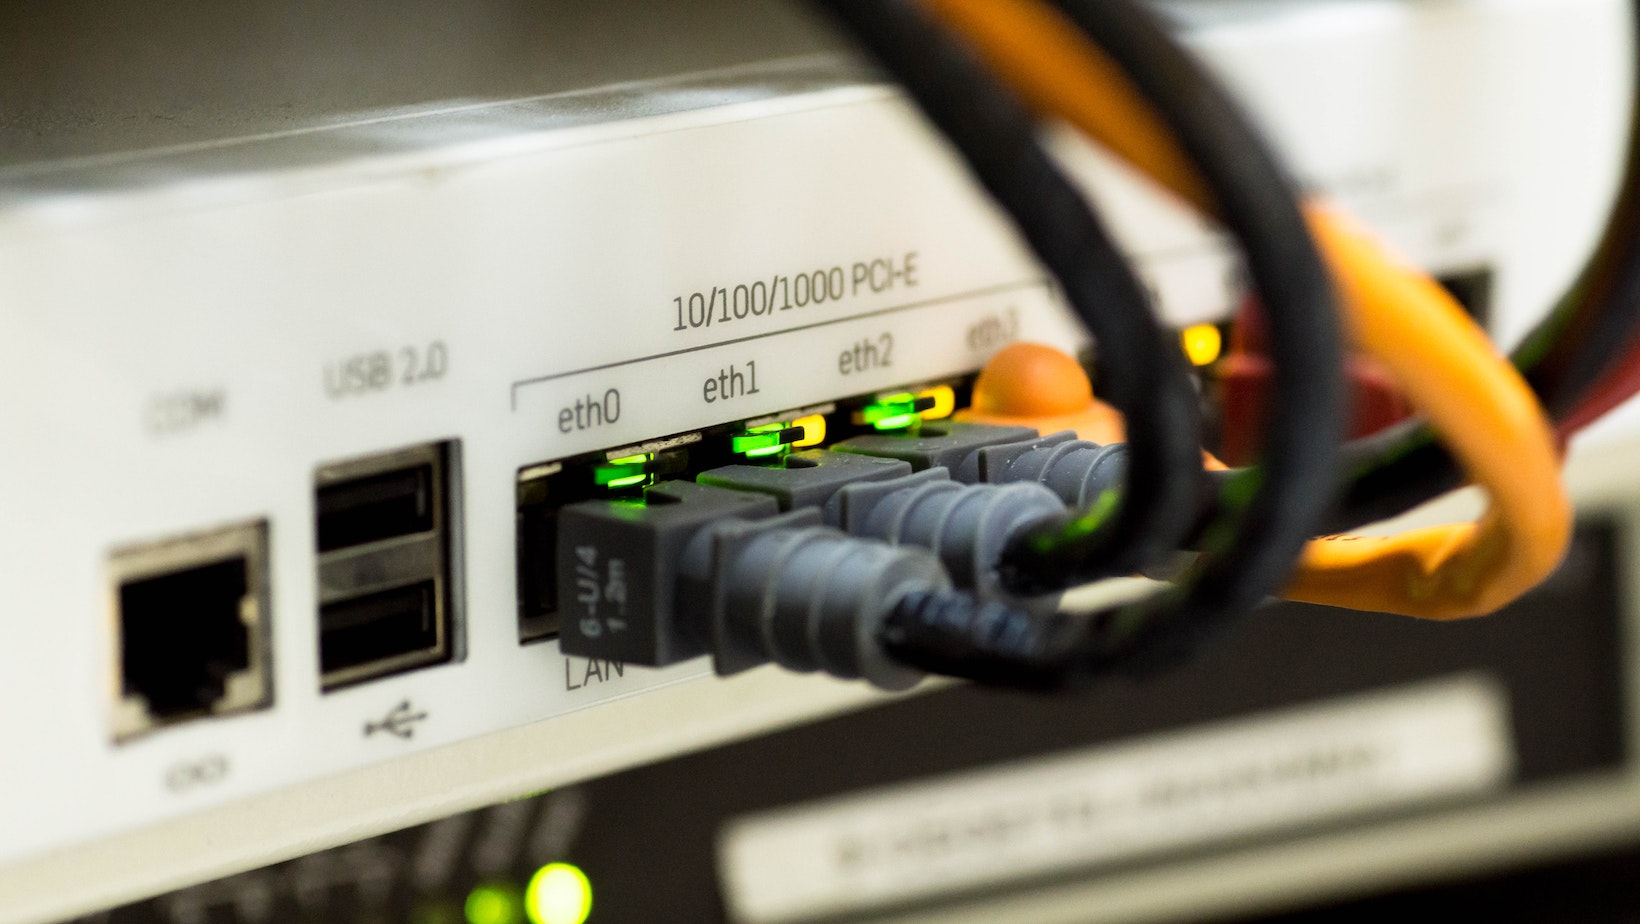
To begin, locate the WAN (wide area network) port on your Verizon router. This port is usually labeled “WAN” or “Internet” and is distinct from the other LAN ports. Connect one end of the Ethernet cable to this WAN port and the other end to your modem’s Ethernet port. Next, power on both your modem and Verizon router. Wait for them to establish a connection – this typically takes a few minutes. You can check if they’re connected by looking at the indicator lights on both devices.
Once the connection is established between your modem and router, you can proceed with configuring your wireless network settings. Open a web browser on your computer or mobile device and enter “192.168.1.1” into the address bar (without quotes). This will bring up the Verizon router’s configuration page. On the configuration page, you will be prompted to enter login credentials which are usually provided by Verizon. Enter these details correctly to access the settings menu.
From here, navigate to the wireless settings section where you can customize your network name (SSID) and password. It’s recommended to choose a strong password for better security.
Verizon Router Basics
Setting up a Verizon router is a straightforward process that allows you to establish a reliable and secure internet connection. In this section, I’ll walk you through the essential steps to get your Verizon router up and running smoothly.
1. Gather the necessary equipment: Before diving into the setup process, ensure that you have all the required equipment at hand. This typically includes the Verizon router itself, an Ethernet cable, a power adapter, and any additional accessories provided by Verizon.
2. Connect your devices: Start by connecting one end of the Ethernet cable to the WAN or Internet port on your Verizon router. Then, connect the other end of the cable to your modem’s Ethernet port. Make sure both ends are securely plugged in.
3. Power up your router: Plug in the power adapter to your Verizon router and connect it to an electrical outlet. Once powered on, give it a few moments for all lights on the front panel to stabilize.
4. Accessing the configuration page: To configure your Verizon router settings, open a web browser on any device connected to the network (wired or wireless) and enter “http://192.168.1.1” or “http://myfiosgateway.com” in the address bar.
5. Logging in and setting up Wi-Fi: On accessing the configuration page, you’ll be prompted for login credentials which are usually located on a sticker attached to your router or provided by Verizon during installation. Enter these details carefully and proceed with configuring your Wi-Fi network name (SSID) and password.
6. Advanced settings (optional): If desired, explore advanced settings such as firewall configurations, parental controls, guest networks, or port forwarding options available within your Verizon router’s administration interface.
By following these simple steps outlined above**, you’ll be able to set up your Verizon router efficiently without any hassle**
Remember that specific models may have slight variations in the setup process, so it’s always a good idea to consult your router’s user manual or Verizon’s support documentation for any specific instructions pertaining to your device.
Now that you have successfully set up your Verizon router, you can enjoy seamless internet connectivity and make the most of your online experience.