

Are you looking for insights on the best way to set up a 1440p Microsoft Flight Simulator? You’re in luck!
In this article, we’ll provide comprehensive tips and tricks on how to set up and customize your 1440p Microsoft Flight Simulator to achieve optimal performance. You’ll also discover why this set-up is important and how it can benefit your gaming experience. So let’s get started!
1440p microsoft flight simulator
For those wishing to take their Microsoft Flight Simulator experience to the next level, setting up a 1440p monitor is the perfect way to maximize your flight sim immersion. Here is how to get started.
First, you need to make sure that the display you are using is capable of running at 1440p. Many popular monitors on the market today can easily handle this resolution, including some of the best gaming monitors available from ASUS, Acer, and Dell. Once you have checked that your monitor can run at 1440p, you’ll want to adjust some in-game settings as well.
In Microsoft Flight Simulator 2020, players can expect higher draw distances, realistic shadows and detailed texture details when playing at 1440p. In order to take advantage of these perks however, it is important that gamers adjust their in-game graphics settings accordingly. To access these options: launch your game > go into Settings > Graphics > set Graphics Quality Level as High > then switch Resolution Mode from Automatic (default) to 1440P. Doing this will allow Flight Simulator 2020 players to experience graphics in high fidelity with finer details and improved level of detail while they soar through the skies!
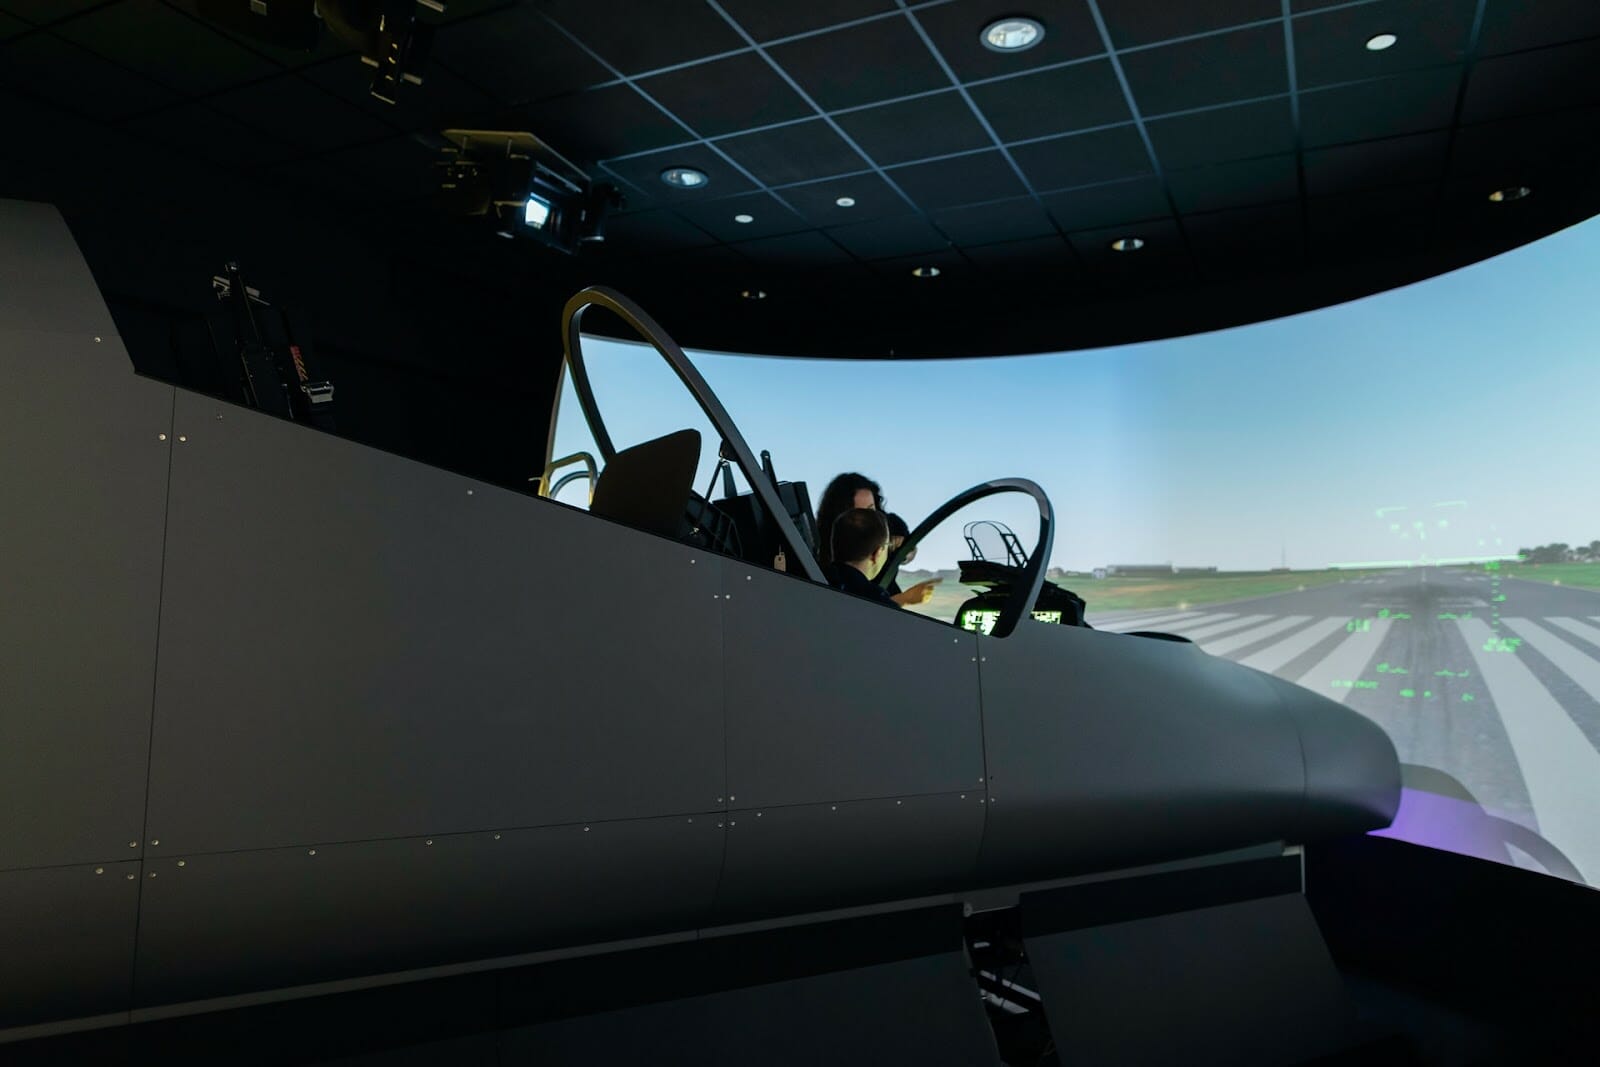
1440p microsoft flight simulator image
Microsoft Flight Simulator is a realistic experience that allows gamers to explore the skies and make their way across the wide world of flying. To get the most out of this title, it’s essential to select the right settings; particularly when considering resolution. If you set up your simulator with a 1440p image, you’ll experience exceptional visuals that will enhance your gaming experience. To help you get started, here’s a comprehensive guide to setting up a 1440p Microsoft Flight Simulator image:
First, ensure that your computer will be able to handle this resolution setting by running an online benchmark test or checking recommended specifications provided by Microsoft. Secondly, open the advanced video settings for Microsoft Flight Simulator and select “Ultra” under ‘Presets’ (or customize each setting individually if preferred). Next, choose ‘1440p’ from the Resolution drop-down menu before adjusting system requirements such as Anti-Aliasing and Anisotropic Filtering (the specifics will vary depending on your machine). Finally, save your changes by clicking Apply and then launch away!
By following these steps correctly, you should be able to configure a stunning 1440p Microsoft Flight Simulator image and enhance your gaming experience significantly. Of course, you can always adjust further settings or switch back to 1080p if desired — just be sure to check vital specs before taking off! Order your copy of Microsoft Flight Simulator here: https://ggsel.net/catalog/microsoft-flight-simulator-game-of-the-year-edition
1440p microsoft flight simulator images
One of the key advantages of using a 1440p Microsoft Flight Simulator is its ability to display high-resolution images. It requires a powerful gaming PC with one or more graphics cards that are capable of producing the required number of pixels while maintaining suitable levels of performance. Note that if your gaming PC has both Nvidia and AMD GPUs, you must use the drivers provided by Microsoft.
For 1440p resolution, you will need to install a newer version or updates to your current version of Microsoft Flight Simulator. The standard installation will set your game resolution as low as 1024×768 and for 1440p you will need to adjust settings within the game itself. Once in-game, press alt+enter twice in succession to access the graphics settings menu. From there, enter the custom video resolution option and change it to 2560×1440; click apply, then click accept and restart for your changes to take effect.
You’ll also want to make sure all available graphical settings are set as high as possible – this may impact performance but you’ll get much better visuals from 1440p resolution flight sims compared to lower resolutions. If you experience FPS drops or other graphical issues, try reducing some settings such as anti-aliasing or shadows until these issues resolve themselves; doing this should help optimize performance while enjoying better looking visuals than at lower resolutions.

1440p microsoft flight simulator background
An important part of customizing your gaming experience is setting up the proper background for your Microsoft Flight Simulator. In order to get the most out of your sessions, you should consider going for a 1440p resolution when running this game. At this setting, visuals are greatly improved and more details become visible which can give you an edge over other players. To help you out, we’ve compiled some tips and tricks on how to customize your 1440p Microsoft Flight Simulator background.
First, it’s a good idea to employ efficient graphics settings to improve the visuals while minimizing any potential lagging or stuttering of the game. DirectX 12 is the recommended version for running this game in 4K resolution. Also, ensure that anti-aliasing and vertex shader capability are optimized for better performance.
For further visuals enhancement especially in outdoor sceneries, employing additional add-ons and mods keep things interesting even when your flying routes have been covered multiple times before. Terrain texture packs like SkywardEye or Horizon Professional introduce higher levels of detail thatmake fly overs look much more realistic along with plenty of other features that upgrade how trees, buildings or vehicles look while they draw near during a flight simulation session.
Optimal frame rates can be achieved by opting for dynamic resolution settings if available along with other framerate limiting options like Vsync or frame freezing capabilities offered in third-party programs such as Radeon Chill. This ensures an efficient but steady performance that doesn’t compromise on graphical quality while also maintaining frame rates at twice what is expected from a 1080p monitor display configuration at maximum settings..
These tips should help you set up an optimal operating environment with enhanced realistic graphics effects at breathtaking 4K resolution to experience breath taking views from above all within Microsoft Flight Simulator!
1440p microsoft flight simulator wallpapers
Customizing your gaming experience to create the perfect environment is essential to ensure you get the best possible results. You can take your gaming experience to a whole new level with the right wallpaper and screensaver that have been designed especially for 1440p Microsoft Flight Simulator.
When setting up a 1440p Microsoft Flight Simulator wallpaper, it’s important to select one that fits the resolution of your device. That way you’ll be guaranteed the highest quality image that doesn’t distort or pixelate when stretching over multiple monitors.
You can find a selection of great images from many sources online, including free wallpapers on websites such as WallpaperPlay, as well as licensed commercially produced ones from companies like MSN Hanging Artwork and SubZero Custom Wallpaper Studios. These premium solutions have some great benefits over free offerings such as higher resolution images and support for larger multi-monitor setups.
Aside from custom wallpapers, you can also find a selection of high quality screensavers made with specific jets and backgrounds in mind. These will give your gaming station a professional look while they cycle through flight path simulations at configurable intervals depending on what type you choose. Taking your setup to the next level has never been easier!
1440p microsoft flight simulator wallpaper
It is easy to set up a wallpaper for your 1440p Microsoft Flight Simulator desktop. To begin setting up your wallpaper, you’ll need a few things — an image in jpeg format to use as the background and your preferred image editing program.
First, open the image that you would like to use as the background in your desired image editor. Adjust the size of the image to fit your computer’s resolution (1440p). Once you have adjusted the size, save the image and close it.
Next, open ‘Control Panel’ on your computer or laptop and select ‘Personalization’. Choose ‘Desktop Background’ from the left panel menu and a new window will appear. Then click on this window’s “Browse” button and find where you saved your wallpaper. Select it by clicking on it once and hit “Apply” to apply it as a desktop background for 1440p Microsoft Flight Simulator.
Once you have finished setting up your wallpaper correctly, make sure that its position is centered within “Personalize/Display Settings” so that it fits perfectly with no cropping or excessive scaling when set at a screen resolution of 1440p. That’s all there is to it! You can now enjoy the custom 1440p Microsoft Flight Simulator backdrop while playing games or simply while viewing tasks on your monitor!

1440p microsoft flight simulator backgrounds
One of the great advantages of running Microsoft Flight Simulator in resolution 1440p is that it offers a high-quality gaming experience with incredible detail. To ensure you get the most out of your simulator, it is important to customize your backgrounds so they look great in this resolution.
Below are some steps that can help you customize and optimize your Microsoft FlightSimulator backgrounds for 1440p:
1. Choose a background with plenty of detail, using high-resolution images when possible. This will ensure that details pop in high quality despite the larger display size.
2. Adjust the zoom levels to best view the details in your chosen background on a 4K monitor or televison. Make sure to test each setting against its corresponding image quality before committing to any changes.
3. Adjust brightness and contrast for clarity and optimal viewing at different resolutions–1440p included!
4. Modify color settings for best representation on a higher resolution screen, improving color gradation and hue levels for a more realistic experience .
5. Render flights with higher graphical complexity or longer render times by enabling hardware acceleration options such as overclock settings from NVIDIA or AMD Vsync to reduce lags while decreasing overall rendering time if needed .
1440p 329 microsoft flight simulator backgrounds
When it comes to the Microsoft Flight Simulator, there are a few things to consider before diving in. One key factor is the desired resolution of the computer graphics that will be used. The higher the resolution, the more detailed and immersive the experience will be. For today’s gaming monitors, a 1440p resolution is ideal for a complete flight simulation experience. This guide will give you some background info on how to get your Microsoft Flight Simulator up and running in true 1440p quality with 329 available backgrounds.
When it comes to choosing an optimal background, you should look for one with a high resolution (1080p or higher) and minimal noise or distortion. This way, you’ll be able to see all of your visuals without any issues. There are many great downloadable backgrounds available online specifically designed for gamers using or wanting to use Microsoft Flight Simulator at a 2K (1440p) resolution.
To start your own setup process, first download and install all the relevant files off of the official Microsoft website. Then configure your chosen background into your virtual flight environment using appropriate settings for each scene – such as dynamic cloud density and fog settings – if applicable within this simulation system. You can also configure several conditions within Microsoft’s “World Weather” settings as needed – including windlevel and visibility/temperature/etc – which can help create an increasingly realistic atmosphere while flying around in game-time day/night scenarios! Lastly remember that some features included in these packages may need additional hardware – such as VR headsets – so make sure you have everything necessary before flying away!