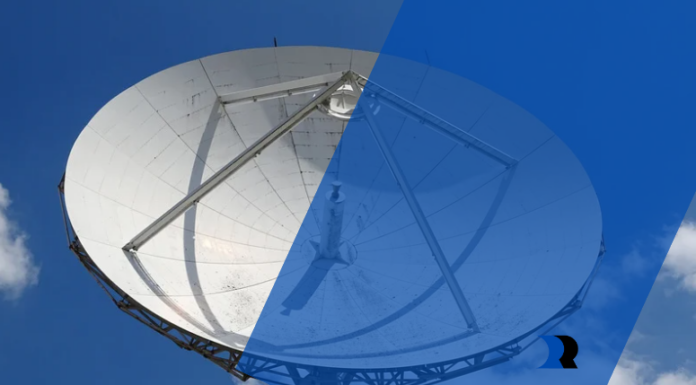
Installing and aligning a satellite dish to get the best possible reception is crucial for enjoying uninterrupted television programming. This guide will provide you with comprehensive instructions on how to accurately align your satellite dish, ensuring that you achieve optimal signal strength for top-notch reception.
Understanding Satellite Dish Alignment
The Basics of Satellite Signals
Satellite communication relies on a clear line of sight between your satellite dish and the satellite in space. Any obstacles like tall buildings or trees can block or degrade the signal, affecting the quality of your reception.
Importance of Proper Alignment
Aligning your satellite dish correctly is paramount because even a small misalignment can lead to signal loss. Correct alignment not only includes the right direction but also the elevation and polarization of the dish.
Tools You’ll Need
For this task, you will require a compass, an inclinometer or angle finder, and most importantly, a satellite signal meter. These tools help optimize the dish’s settings according to the broadcaster’s recommendations.
Pre-Installation Steps
Choosing the Right Location
First, you need to decide on the best location for your satellite dish. It should be a spot with an unobstructed view of the sky in the direction of the satellite from which you’ll be receiving the signal.
Assembling the Dish
Assemble your satellite dish according to the manufacturer’s instructions. This typically involves attaching the dish to the bracket and assembling the LNB (low noise block), which receives the signal.
Mounting the Dish
Securely mount your satellite dish on the bracket. Choose a location—possibly on your roof, balcony, or an exterior wall—that provides a stable base and clear line of sight.
The Alignment Process
Finding the Satellite
Use your compass to find the direction or azimuth you need to point your dish based upon your geographical location and the specific satellite you are targeting. This information can usually be obtained from your satellite provider.
Adjusting the Elevation
The elevation angle (how high the dish should point up from the horizon) is next. Adjust the dish to the proper elevation angle as specified by your satellite provider.

Use the inclinometer to measure this angle accurately.
Tuning the Polarization
Polarization refers to the angle of the LNB and it might need a slight rotation to either the right or left. The exact angle can be found in your satellite provider’s setup instructions.
Fine-Tuning with a Signal Meter
Connect your satellite signal meter to the LNB and slowly adjust the azimuth and elevation of the dish. Monitor the signal strength on the meter and adjust the dish until you achieve the maximum signal strength.
Testing and Troubleshooting
Secure the Dish
Once the optimal signal strength is achieved, tighten all the bolts and nuts to secure the dish’s position. It’s crucial that the dish doesn’t move at all, as even a small shift can disrupt reception.
Check the Connection
Run a connection test through your satellite receiver’s menu. This usually involves opening the signal test screen to verify if the signal is stable and strong.
Troubleshooting Common Issues
If the signal is inconsistent or weaker than expected, double-check the LNB settings, ensure there are no partial obstructions and re-check the dish alignment.
Maintaining Your Satellite Dish
Regular Checks
Periodic checks and maintenance of your satellite dish are suggested. Extreme weather conditions can shift its position over time or cause wear and tear.
Cleaning
Keep the dish free of debris, snow, or nesting birds, as these can affect signal quality. Regularly cleaning the dish and its surrounding area helps maintain signal integrity.
Conclusion
Aligning your satellite dish correctly is vital for receiving the best possible television reception.

By following these detailed steps, you can ensure that your satellite dish is well-aligned, allowing you to enjoy your viewing experience without interruptions. Remember, if you are unsure about any steps, consulting or hiring a professional aerial installer is highly recommended to achieve a precise setup.


