How to Connect Verizon Router
Connecting a Verizon router to your network may seem like a daunting task, but with the right guidance, it can be a smooth and straightforward process. In this article, I’ll walk you through the steps on how to connect your Verizon router effectively.
Firstly, ensure that you have all the necessary equipment ready. You will need your Verizon router, an Ethernet cable, and a power adapter. Make sure you have a stable internet connection before proceeding.
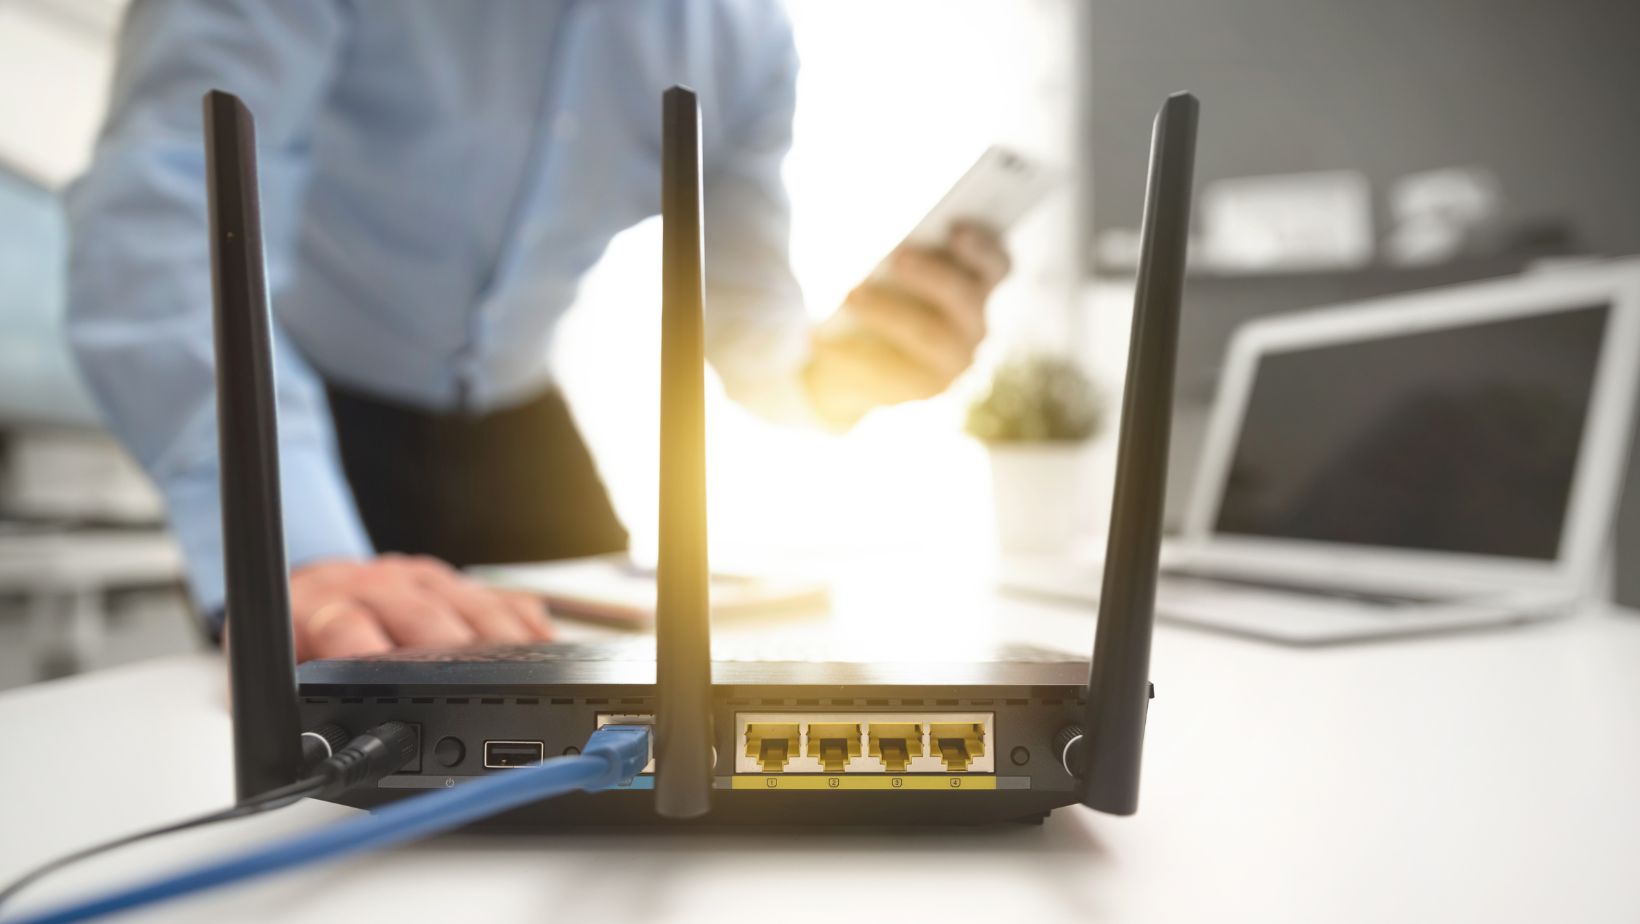
Next, locate the WAN or Internet port on your Verizon router. This is typically labeled as “WAN” or “Internet” and is usually colored differently from the other ports. Connect one end of the Ethernet cable to this port and the other end to your modem’s Ethernet port.
Once connected, plug in the power adapter to your router and then into a nearby power outlet. Wait for a few minutes for the router to boot up fully.
After it has powered up completely, grab another Ethernet cable and connect one end to any of the LAN ports on your Verizon router. The LAN ports are usually numbered and can be used for connecting devices such as computers or gaming consoles.
Finally, connect the other end of this Ethernet cable to your computer or device that you want to use with your Verizon network.
Congratulations! You have successfully connected your Verizon router. Now you can enjoy fast and reliable internet access throughout your home or office.

Verizon Router Basics
Setting up and connecting a Verizon router may seem like a daunting task, but with the right guidance, it can be a smooth process. In this section, I’ll walk you through the basics of connecting your Verizon router step by step.
- Gather all the necessary equipment: Before you begin, make sure you have all the required equipment handy. This typically includes the Verizon router itself, an Ethernet cable, and a power adapter.
- Find an optimal location for your router: It’s important to place your router in a central location within your home or office to ensure optimal Wi-Fi coverage. Avoid placing it near large appliances or inside cabinets that can obstruct its signal.
- Connect your modem to the router: Start by connecting one end of the Ethernet cable to the modem provided by Verizon and the other end to the WAN port on your router. This will establish a connection between your modem and router.
- Power up your devices: Plug in both ends of the power adapter into their respective ports – one into an electrical outlet and the other into your router. Wait for a few minutes until all lights on the front panel of your router are solid green.
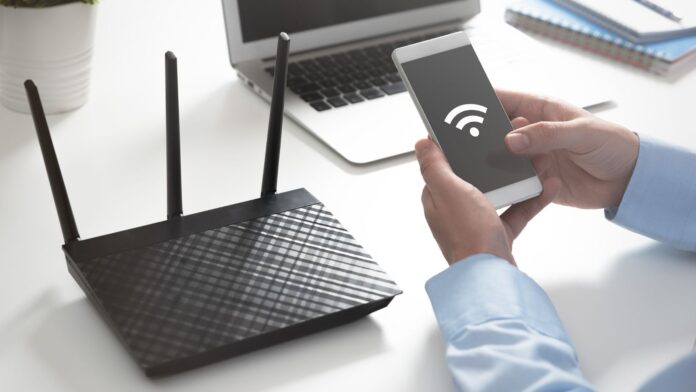
- Connect devices wirelessly: Once your router is powered on and fully operational, use Wi-Fi settings on your device (e.g., smartphone or laptop) to locate available networks. Locate and select your network name from the list of available options.
- Enter network credentials: If prompted, enter any security key or passphrase associated with your network (usually printed at the bottom of your router). This ensures secure access for authorized users only.
- Test connectivity: After successfully connecting to your wireless network, open a web browser and try accessing various websites to ensure internet connectivity is established.
By following these simple steps, you should now have successfully connected and set up your Verizon router. Remember, if you encounter any issues during the process or require further assistance, don’t hesitate to reach out to Verizon’s customer support for guidance. Happy browsing!


