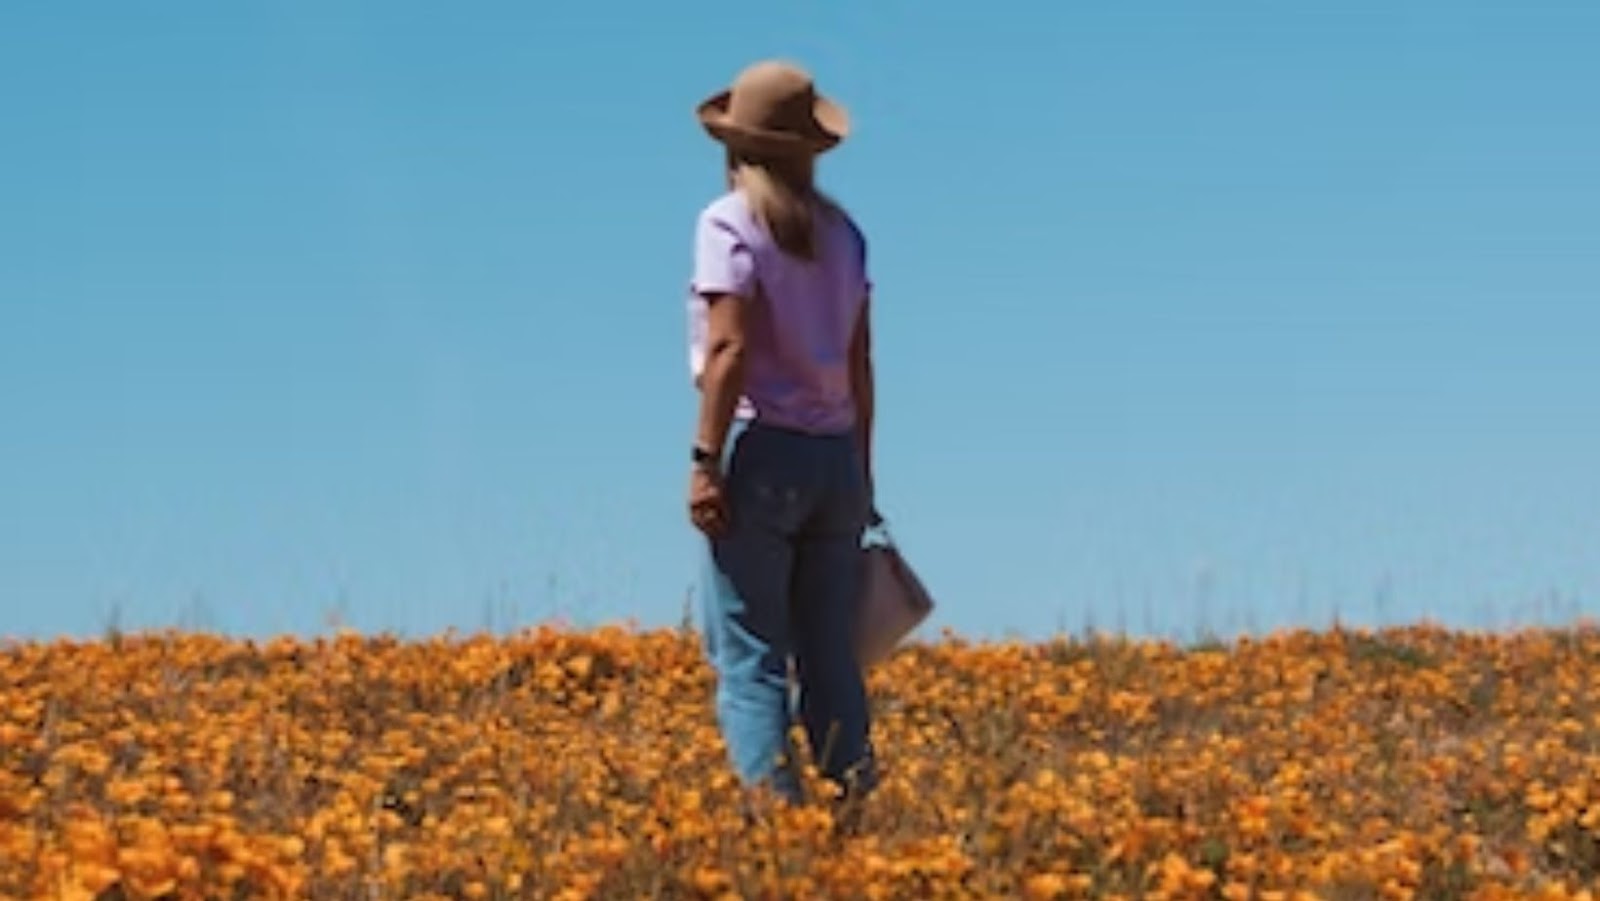
As professionals, we often come across valuable tips that we want to remember and share with others. While some of these recommendations are easy to forget, there are a few that are extremely useful and worth sharing with the fellows. Our tips are concise and cover a range of topics, from basic camera techniques to creative composition. Whether you’re new to photography or looking to improve your style, these basics are sure to help you along the way.
-
Don’t Blame Your Camera
This is one of the most important tips, especially if you are just starting your way. So, good equipment is really important for taking pictures, but not as vital as you think. An experienced professional can take great pictures with a cheap camera, while a bad photographer won’t be able to do anything with the most expensive equipment.
By the way, improving in photography is an ongoing process because it is an art that requires continuous learning. Today you are at the beginning of the journey, but you also need to learn how to work with the photo editor perfectly and how to use different techniques correctly. For example, you can try stacking photography software like Luminar Neo, which allows you to merge multiple images into a single high-quality picture with reduced noise and increased sharpness.
So what can we advise a beginner to do? That’s easy because it’s much more important to rely on proper exposure, work with perspective and composition, and not be afraid to experiment. You can take cool photos with any camera if you learn these things. Just remember that sometimes you might get a great shot just by using a smartphone. The bottom line is that buying expensive gear won’t make you a pro immediately.
-
Always Remember about Exposure
This is one of the most crucial concepts, and it refers to the amount of light that reaches the camera sensor when you snap a shot. Getting the exposure right is crucial to creating a well-exposed image, and as a beginner, it’s important to remember a few key things:
- Exposure is determined by three key factors: aperture, shutter speed, and ISO. These settings work together to determine how much light enters the camera and how long it is exposed to the sensor. Understanding the relationship between these three options and how to adjust them is essential to getting the right exposure.
- Always check the histogram. This is a graphical representation of the brightness levels in your photo and can help you determine if your exposure is correct. Ideally, you want a histogram that is evenly spread across the range of brightness levels, with no “clipping” at the ends of the graph.
- The lighting conditions in your scene will have a big impact on the exposure settings you need to use. For example, bright sunlight may require a faster shutter speed and smaller aperture to avoid overexposure, while low light may require a higher ISO to get a properly exposed image.

This can be a complex subject that takes time and practice to master. Take lots of photos in different lighting conditions, experiment with different settings, and analyze your results to see what works and what doesn’t. With time and practice, you’ll develop a better understanding of exposure and be able to create well-exposed photos more consistently.
-
Try Different Techniques
Trying different techniques is an essential aspect of improving your photography skills and developing your style. Exploring various approaches can help you find new ways to capture unique and interesting images. For example, experiment with photo stacking software to create a single image that is sharper has a greater depth of field, and has less noise.
You can also try different genres of photography, such as portrait, landscape, wildlife, street, or abstract, to broaden your perspective and challenge yourself creatively. Remember that photography is an art form, and there are no rules or limits to what you can create. So keep exploring, taking risks, and refining your techniques to become a more skilled and versatile photographer.
-
Follow the Rule of Thirds
One look at a picture is often enough to understand who took it — a beginner or an experienced photographer. Professionals pay a lot of attention to the composition in the frame, but a beginner will immediately notice its absence.

The simplest principle is the rule of thirds. Its essence is to divide the frame conditionally with two horizontal and two vertical axes. Along these lines, or at their intersections, important elements should be placed where the eye will stop to look at the picture.
-
Don’t Neglect Post-Processing
Retouching is often thought of as radically altering the original photos with powerful filters and effects. This misconception has led some photographers to abandon retouching. Not all retouching is bland, over-photoshopped images. It’s more accurate to think of retouching as applying makeup.
Similarly, post-processing can be unnecessary, intentionally stylized, or subtle, emphasizing only what is already in the frame. Use retouching! Underestimate it, and you’ll end up with all your photos missing something. We also recommend using AI photo editors and focus stacking software like Luminar Neo, especially if you want a sharp landscape. A special algorithm selects the crispest parts of all shots and corrects lens and chromatic aberrations in RAW files.


